
1. From the Centrify Admin Portal, go to [Apps > Add Web Apps]
2. Go to the Custom tab and click the Add button for "SAML" in the list. Confirm.
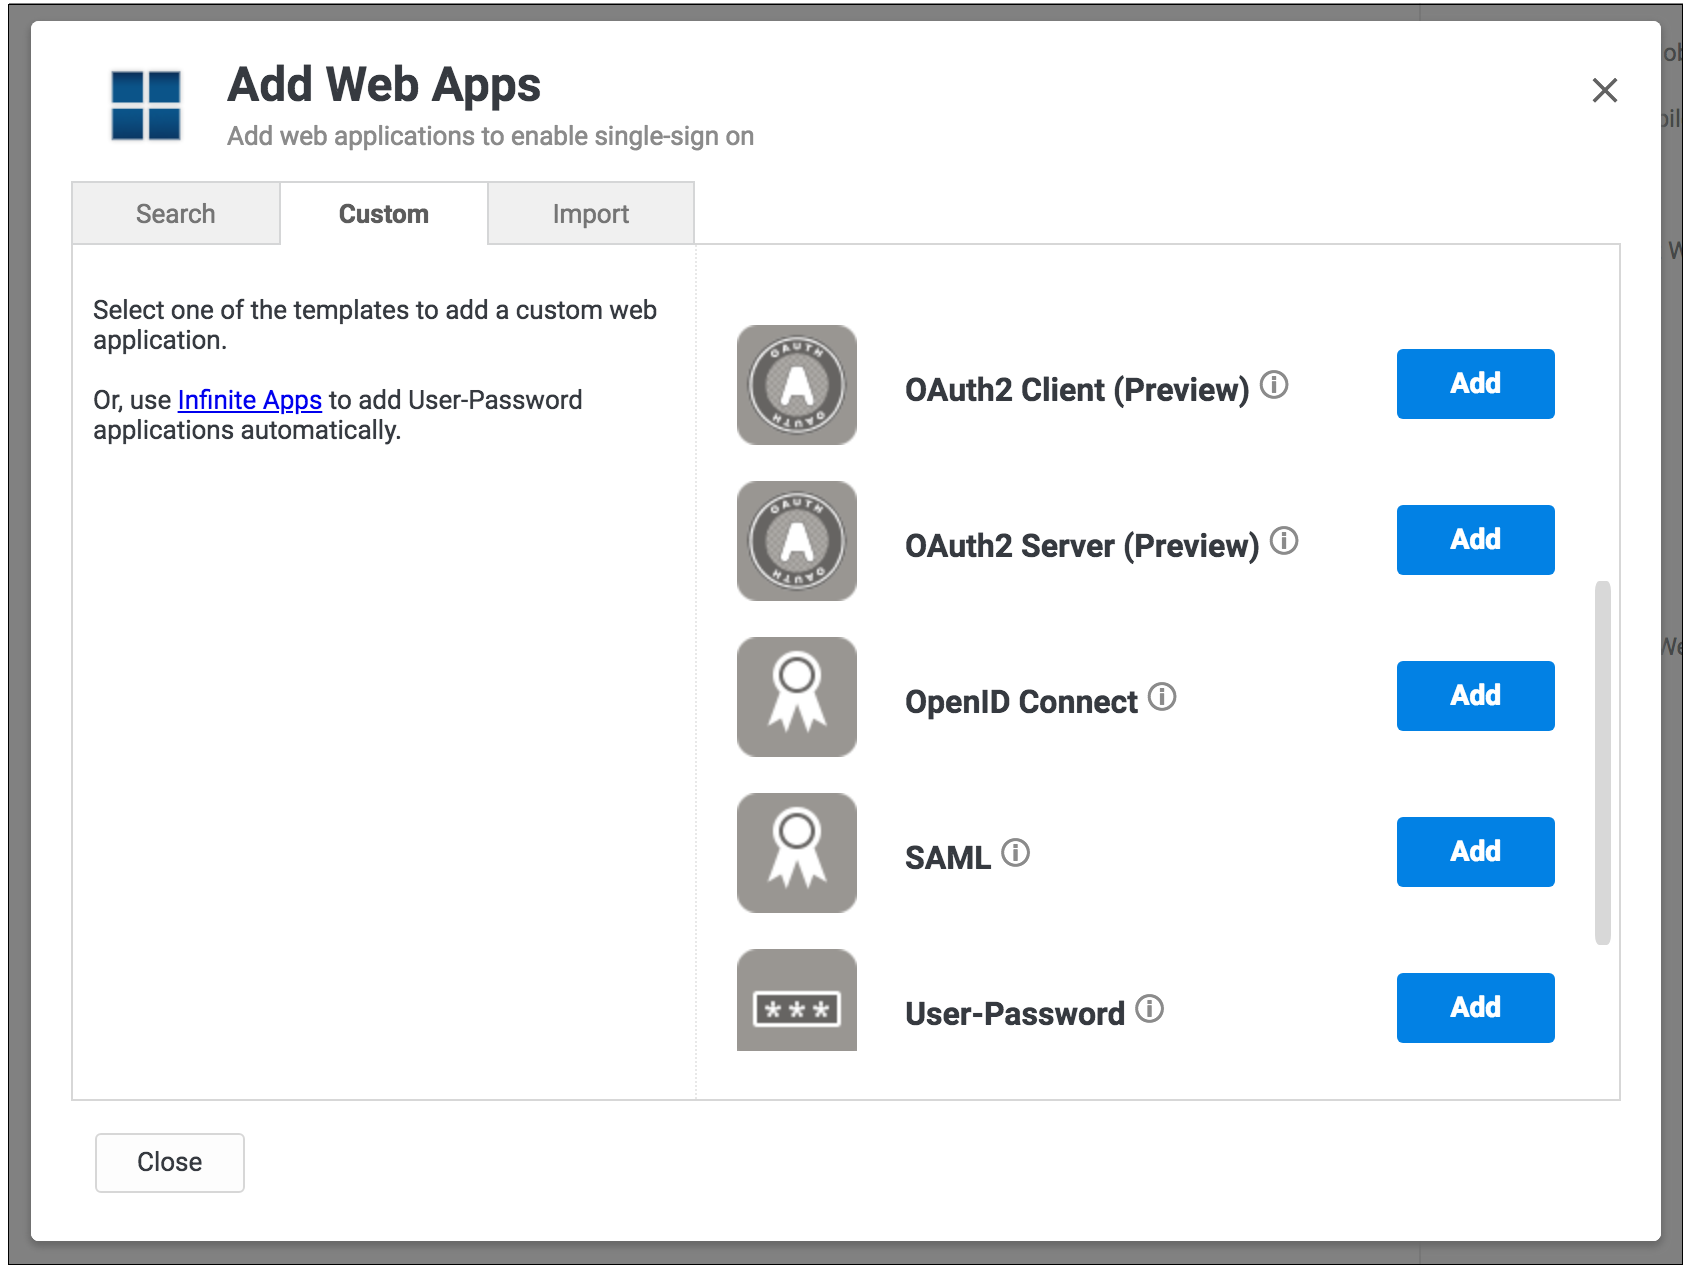
3. Provide the required information in the Settings section for the app, including a Name and Category.
-png-Feb-10-2022-09-27-27-71-PM.png)
This image can be used as the logo:

You must check the Show in user app list option for Prendio to be available for one-click access in the Centrify user portal
4. Configure the Trust section for the app.
-
In the Service Provider Configuration section, select the Manual Configuration option and configure these fields:
-
SP Entity ID / Issuer / Audience: https://procure.prendio.com
-
Assertion Consumer Service (ACS) URL: https://procure.prendio.com/sso/auth
-
Recipient: Click the Same as ACS URL checkbox
-
Sign Response or Assertion?: Response
-
NameID Format: emailAddress
-png-Feb-10-2022-09-27-39-07-PM.png)
-
In the Identify Provider Configuration section, select Metadata option.
-
Click the Copy URL button for the URL field. You can use this as the SAML Metadata URL that auto-completes configuration information while setting up SSO for Prendio.
-png-Feb-10-2022-09-27-42-16-PM.png)
5. In the User Access section of the app, check "Everybody" for Roles that can access this app.
-png-4.png)
6. In the Account Mapping section of the app, select the Directory Service Field option and use "mail" for the Directory Service field name.
-png-4.png)
With the application ready to go, you can take the Metadata URL and complete the steps in the Configuring Prendio with Delinea / Centrify SSO Authentication help doc.