
Updated on June 24, 2026
Payments in Prendio allows companies to streamline everything from procurement to payments all within Prendio. Users can customize an approval process for payments to match their company's unique workflow, ensuring every payment gets permitted efficiently and accurately.
If interested in enabling Payments for your company, please complete a Support Ticket Request Form
Payment Provider Setup - Domestic Payments Application
Payment Provider Setup - International Payments Application
Setting Up Payment Accounts - Domestic
Setting Up Payment Accounts - International
Assigning Payment User Roles
Payment Roles can be assigned to user via the Admin role. Navigate to Admin > Users:

Locate the user account to make adjustments using the search:

After the correct user account is located, select Edit in the Action column:

The User Account Setup window appears for the user:

In Prendio Roles, Payment roles can be found as sub-roles of AP Management:

Please note that assigning any of the Payment roles to a user will automatically assign the user the AP Management role.
The Payment roles available include:
Payment Setup: This role manages completes the domestic and international applications, manages payment settings including approvers and policy, and bank accounts.
Only users with this role can access the Payment Settings tab. Removing this role from a user may trigger warning messages to ensure uninterrupted payment processes. At least one user needs this role, and it cannot be removed unless assigned to someone else. Multiple user can be assigned the Payment Setup role if necessary.
Payer: This role prepares and submits payments. It can also approve batches if the user has the Payment Approver role as well. Removing this role from a user may trigger warning messages to ensure uninterrupted payment processes. This role cannot be removed from a user if the user is part of an in-progress payment batch.
Payment Approver: This role approves or rejects payment batches. At least one user must have this role. Any Payment Approvers also assigned the Payer role to submit payment batches cannot approve their own payment batches.
Check the boxes next to the roles to assign to the user:

Save on the bottom of the User Account Setup window when complete and exit:

Payment Provider Setup - Domestic Payments Application
Please note that there will be separate application streams for Domestic and International Payments.
After Payments are enabled Prendio Customer Service, users assigned the Payment Setup role can complete the application process for domestic and international payments.
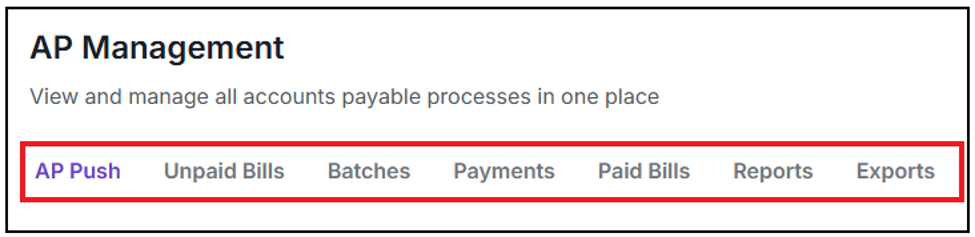
Navigate to any of tabs found under AP Management followed by Payment Settings:


Select Domestic Payments:

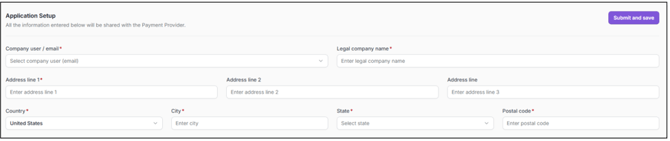
Complete the Application Setup details as a bank account cannot be added until an application is approved. Required fields will be noted with an asterisk *. The application status will update as the setup progresses:

Submit and Save the application when complete:

A message will appear in the top right of the screen indicating that the application has been submitted:

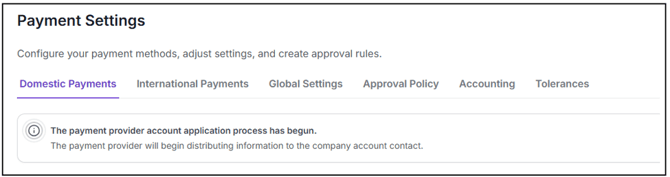
The Application Setup screen will update to indicate that the information has been sent to the payment provider and the application process has begun:
After submitting the application, the user will receive contract information at the provided email. This must be reviewed and signed, and documents must be provided to finalize the setup with the payment partner. The application must be submitted and approved before bank accounts can be added to process payments. If additional information is required or clarification is needed, our payment partner will reach out to the user.
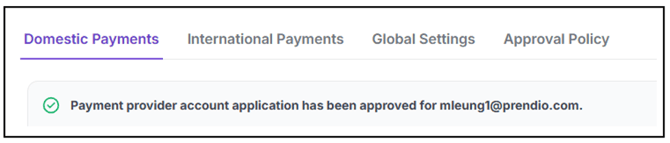
After the payment partner approves the application, the status will update to Approved:
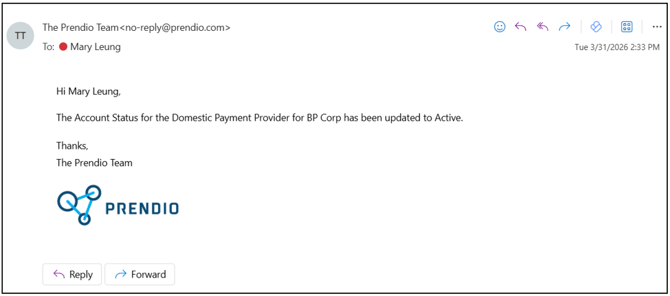
The Payment Setup user will also receive an email confirming the account is now Active:
Payment Provider Setup - International Payments Application
Please note that there will be separate application streams for Domestic and International Payments.
Navigate to any of tabs found under AP Management followed by Payment Settings:
Select International Payments:

Complete the Application Setup details. Required fields will be noted with an asterisk *. The application status will update as the setup progresses:

The application for international payments consists of five section all within the UI. Progress for each section will be tracked at the top of the application:

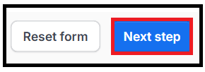
After a section is complete, advance to the next section by selecting Next Step located at the top right of the application:
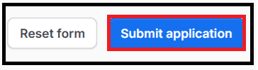
Upon completing the last section, select Submit application:

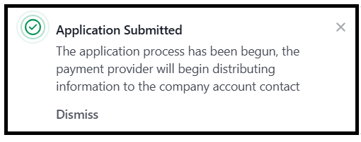
After the application is complete and submitted, a success message will briefly appear at the top right of the screen:
The application status will update:
To complete the international application process, a document showing the company address dated within the last three months is required. Common examples include:
-
bank statement
-
utility bill
-
other types of bills (invoice)
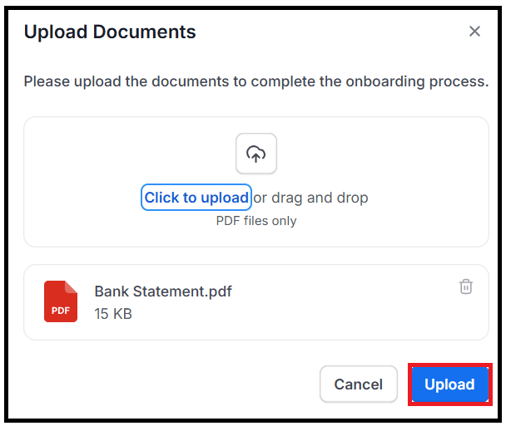
Select Upload Documents to upload this document directly into the UI:


Upload or drag and drop the document into the pop-up modal. Only PDF files are accepted. Select Upload when complete:
The document will be forwarded over to the international payment provider for review and:the status of the application will update to indicate application review:
![]()
Our payment partner will review the application and reach out in case additional information or clarification is required. Please allow 1 business day for approval or if additional information is required.
Upon approval, the status will update to Approved:
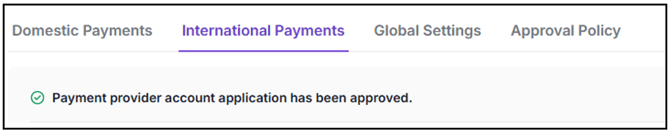
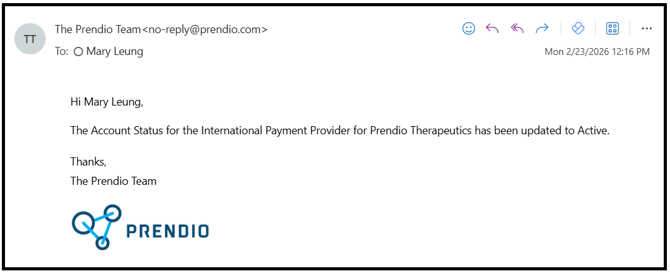
The Payment Setup user will also receive an email confirming the account is now Active:
Note: When waiting for the international application to update to approved, users can proceed with adding bank account for international payments. Navigate to Setting Up Payment Accounts - International for step by step instructions .
Setting Up Payment Accounts - Domestic
Please note that similar to the application process, there will be separate streams to add bank account entries for Domestic and International Payments. Each stream (domestic vs. international) requires different information, steps, and documents required to complete the bank account process.
Adding a Bank Account for Domestic Payments
The domestic payments application must be Active before the ability to add Payment Account will be available.
Navigate to any of the tabs found in AP Management followed by Payment Settings:

Select Domestic Payments:
Locate the Payment accounts setup section:

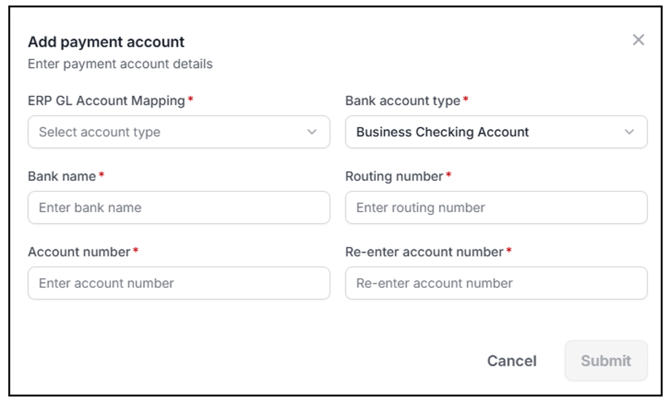
Select Add Payment Account:

Complete the details for a new bank account and select Next when complete:

Please ensure that the correct account is being used and that the account and routing numbers are verified. A sample check below displays the routing, account, and check numbers:

Select the appropriate ERP GL Account Mapping for each bank account added. The GL Account selected will be the account where payments post in an ERP system (usually Checking):

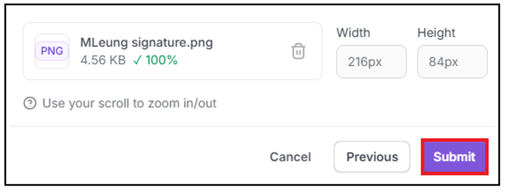
Complete the rest of the Bank Account details as all fields are required. Upload a signature image:

Submit when complete:
The status of the account will update to Pending:

After verification, the account will update to Active:

*When submitting a payment batch using a bank account, please allow a maximum of 3 business days for paper checks to be processed successfully as the signature block must be verified by our payment partner. There are no time restraints for ACH or VCC payments.
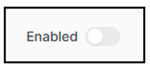
Accounts can also be disabled by toggling the Enabled switch off:

Confirm to deactivate by selecting Yes, deactivate:
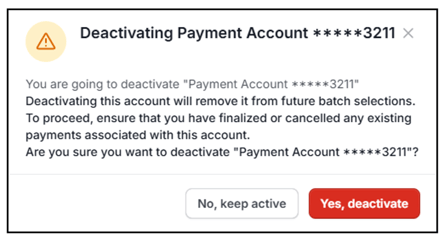
Please note that bank accounts cannot be Disabled if there are payments in progress under the account.
The bank account will be disabled and update to a grey color:
A Primary Account can be set by selecting Use as primary payment account:
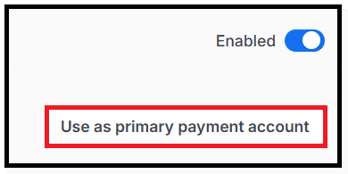
Selecting a Primary Account streamlines the payment batch creation process. This account will be automatically selected as the default for new payments. Only one account can be set as the Primary Account:

Setting Up Payment Accounts - International
Please note that similar to the application process, there will be separate streams to add bank account entries for Domestic and International Payments. Each stream (domestic vs. international) requires different information, steps, and documents required to complete the bank account process.
After an application is Active, a Payment Account will be available to add a bank account. Navigate to any of the tabs found in AP Management followed by Payment Settings:
Select International Payments:
Locate the Payment accounts Setup section:

Select Add Payment Account:
Complete the details for a new bank account:
Please ensure that the correct account is being used and that the account and routing numbers are verified. A sample check below displays the routing, account, and check numbers:
Select the appropriate ERP GL Account Mapping for each bank account added. The GL Account selected will be the account where payments post in an ERP system (usually Checking):
Submit when complete:
![]()
The account details save in Prendio and is in a Draft status:

Users must now download the ACH Debit form to be completed and signed for the new bank account:


The form will be pre-populated with bank account details completed in Prendio. Verify the information is correct and have the appropriate party sign the form:
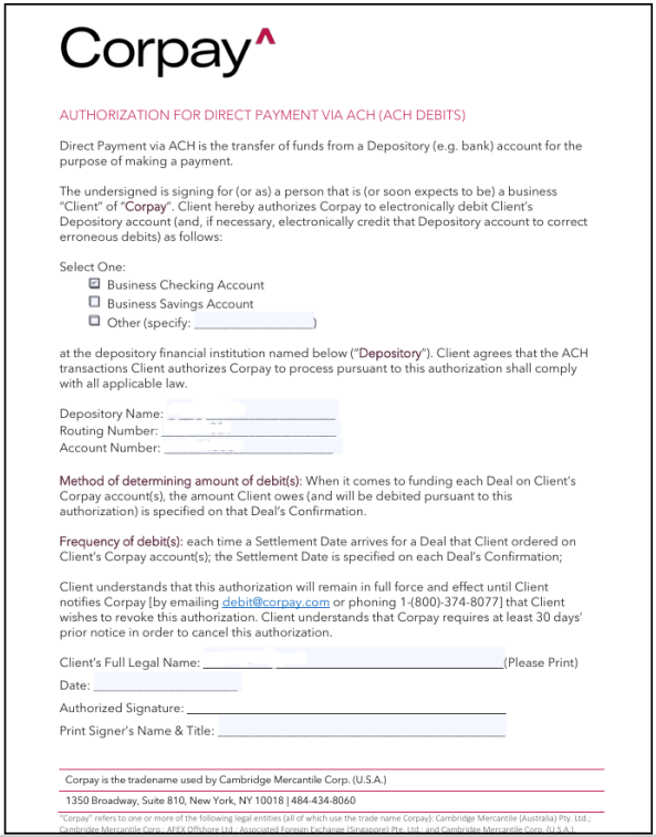
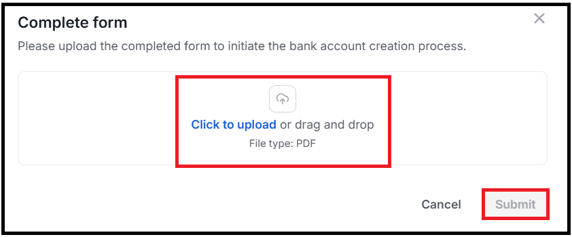
Upload the completed and signed form by selecting Upload Form:

In the pop-up modal, upload a copy of the signed form and Submit when complete:
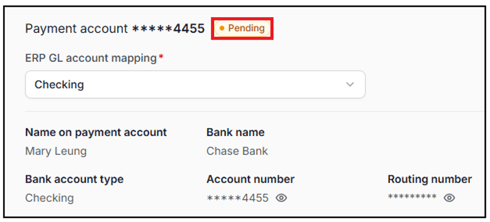
The status of the account updates to Pending. It will take a maximum of four business days for our payment partner to confirm a new bank account:
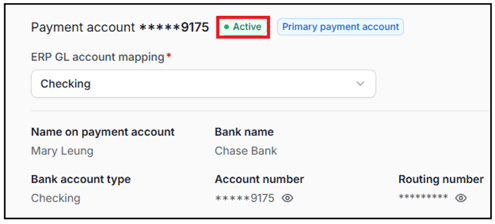
After an account is approved, the status updates again to Active:
Accounts can also be deactivated by toggling the Enabled switch off:
Confirm to deactivate by selecting Yes, deactivate:
Please note that bank accounts cannot be Disabled if there are payments in progress under the account.
The bank account will be disabled and update to a grey color:
A Primary Account can be set by selecting Use as primary payment account:
Selecting a Primary Account streamlines the payment batch creation process. This account will be automatically selected as the default for new payments. Only one account can be set as the Primary Account:
Next Up: Configure Approvers and Custom Rules for payments via Approval Settings and Approval Policy. To learn more, please visit:
Payments - Adding Approvers & Approval Policy Rules