Updated on August 9, 2024
About This Document:
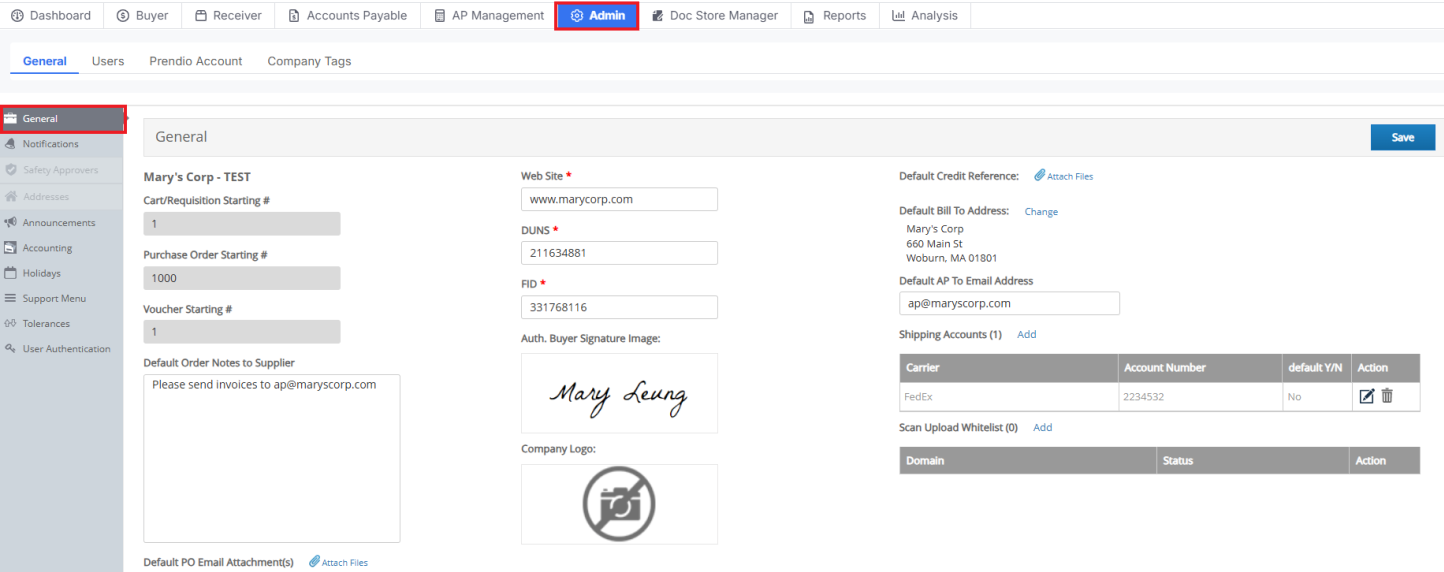
This document details the configuration on the Admin > General > General window.
Prerequisites:
This procedure requires the Prendio Admin role.
Admin > General > General
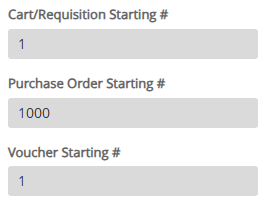
The Cart, PO, and Voucher Starting #s were setup for your company during the Onboarding Process:
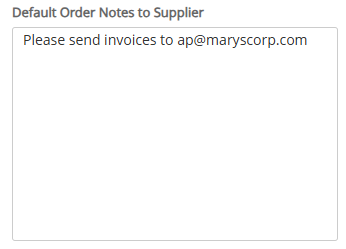
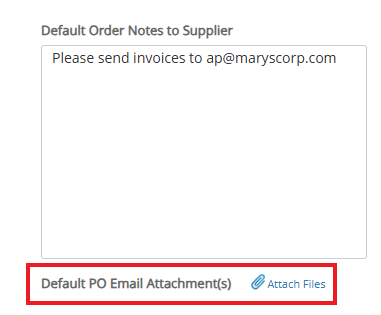
A Default Supplier Note can be entered here. This note will appear at the bottom of the PO:
Attachments for suppliers can also be uploaded below the Default Order Notes to Supplier box via Default PO Email Attachments. These attachments will automatically be sent to the supplier along with the PO:
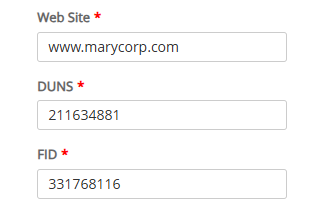
Your Company Website, DUNS, and FID are entered here:
An Authorized Buyer Signature and Company Logo can be added here:
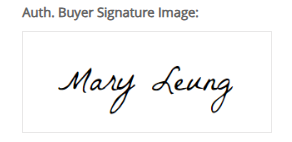
Hover your Cursor below this field to Add or Replace a Signature:
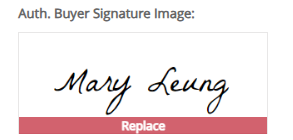
Select Choose File to maneuver to and select a Signature Image. After selecting the image, position it in the window using Zoom Out and Zoom In. Selecy Set as Signature Image when complete:

Hover your Cursor below this field to Add or Replace a Company Logo. Adding and positioning the Company Logo Image is the same as a Signature:

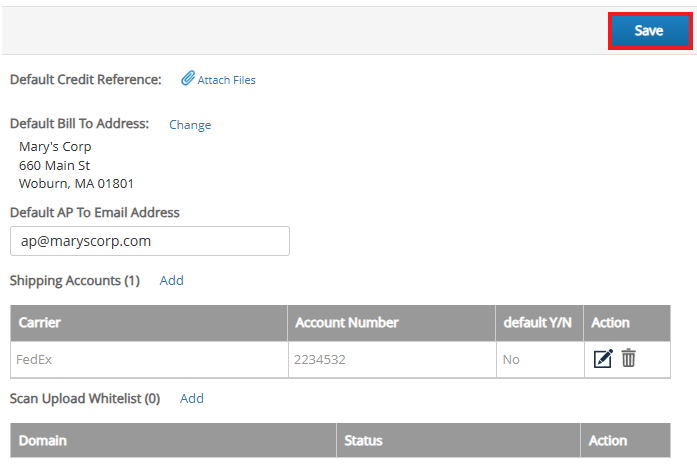
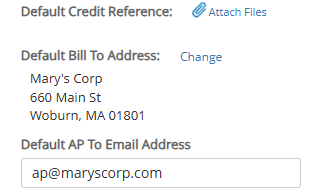
A Default Credit Reference can be attached here, as well as a Default Bill To Address and Default AP To Email Address:
Add can be selected to Add Shipping Accounts. The added Shipping Account(s) will display in the Supplier Details window:

Domains a company wishes to whitelist for the company’s Scan Upload Email address can be added here:

After updates have been made, select Save at the top right of the page: