
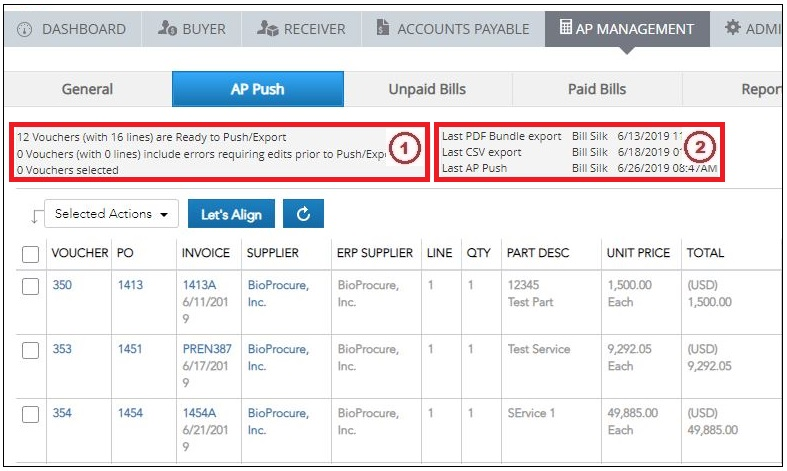
1. The AP Push window includes detail on how many vouchers are in this window as well as how many vouchers are currently selected.
2. Also included is when the last AP Push took place.
Optional Features Before A Push:
An Export Listing File can be created, this creates a .csv file that includes the detail on the vouchers selected in the AP Push window. This is a very convenient way to keep track of what vouchers are about to be pushed.
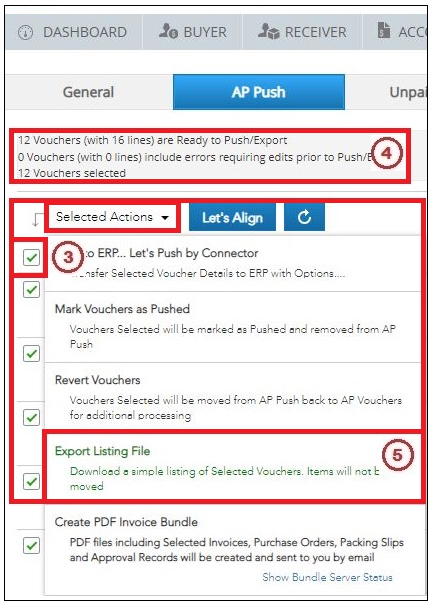
3. The top left Checkbox was checked, this selects all of the vouchers in the window.
4. The number of vouchers selected is updated.
5. Export Listing File is then selected from the Selected Actions pulldown menu.
This Confirmation prompt appears explaining what will take place next, OK is pressed:
.png?width=304&name=image%20(2).png)
This is a portion of an example formatted Export Listing File:
.png?width=688&name=image%20(3).png)
AP Management > AP Push:
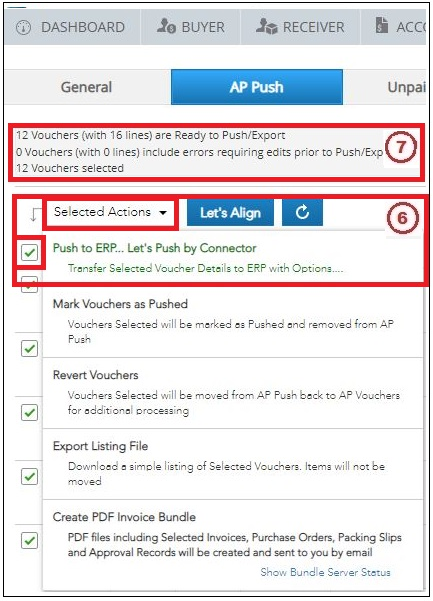
6. The top left Checkbox is again checked, this selects all of the vouchers in the window. Then Push to ERP...Let's Push by Connector is selected from the Selected Actions pulldown menu.
7. Note that the number of vouchers selected is updated.
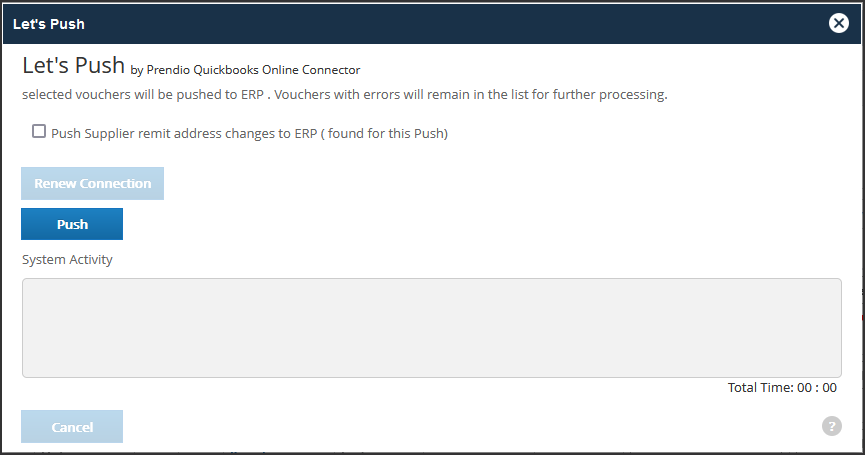
Note: At this point, the Prendio User will be presented with two possible scenarios. If the connection with QBO has expired the connection will need to be renewed. As detailed earlier QBO Admin Credentials are needed.
9. Note: If the Push button is available, proceed to the next step. If the login session has expired, the Renew Connection button will be available and the Push button will be grayed out. If the Renew Connection button is available, click on this button to renew the connection. When the connection is complete proceed to the next step.
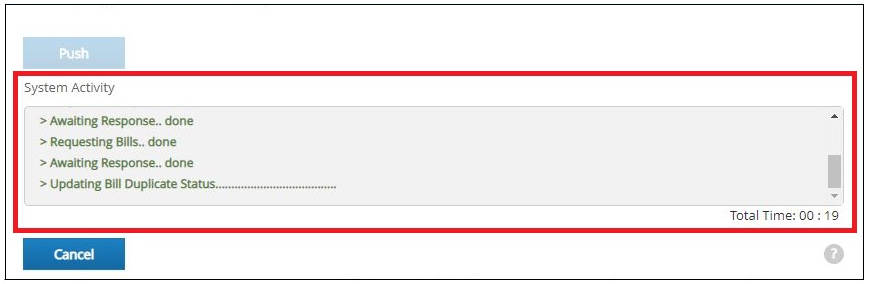
10. Press Push to begin the push process.
The progress of the push is reported in the System Activity field:
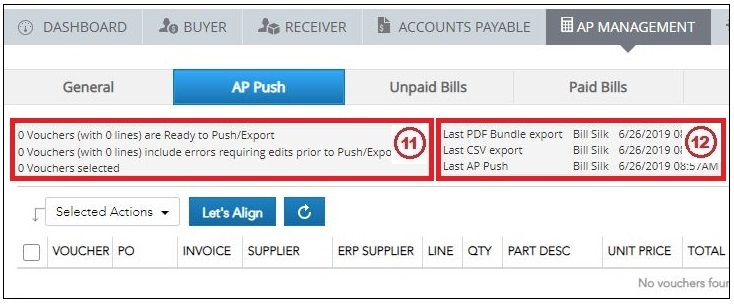
11. When the push is complete these fields are updated.
12. The date and time of the last Push are also updated.
Note: During the push not only are the selected vouchers pushed, but a check for duplicates is made.
AP Management > Unpaid Bills:

The 12 vouchers just pushed were moved to Unpaid Bills.
Manually Requesting Bill Payments:
Notes: To demonstrate manually requesting bill payments one of the bills pushed to QBO was paid through QBO after the push. The status of this bill will now be updated.
AP Management > Unpaid Bills:
As detailed earlier, bills paid through QBO are automatically updated during the next push. These bills can also be manually updated as needed as well.
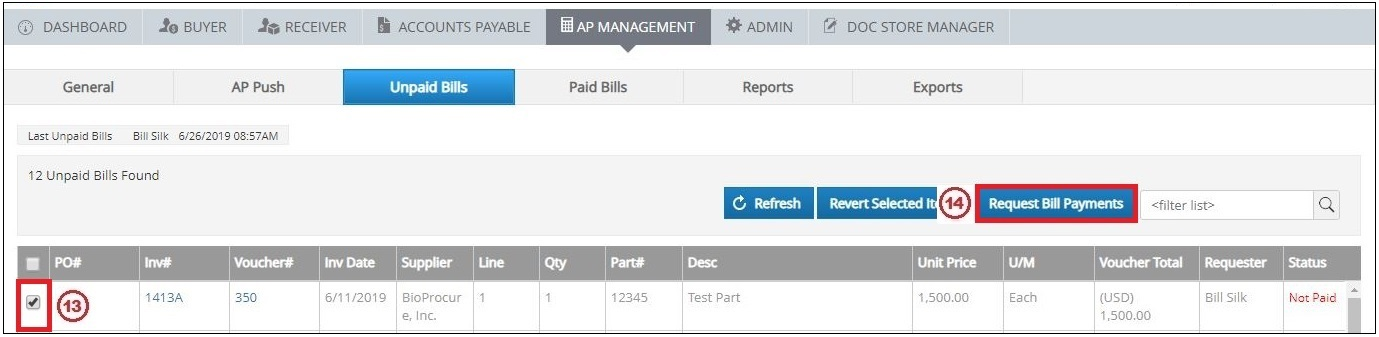
13. In Unpaid Bills the voucher just paid through QBO is checked.
14. Request Bill Payments is then pressed..png?width=522&name=image%20(10).png)
AP Management > Paid Bills:

The voucher that was paid through QBD just after this push was moved to Paid Bills and includes the Payment Details in the Payment column.