Responding To A Rejected Approval Request
Updated on December 10, 2025
The Requester of a Rejected Approval Request have several options to respond to a Rejected Requisition. Options include deleting the rejected requisition or creating a new cart with the same contents in order to make changes and re-submitting as a new requisition.
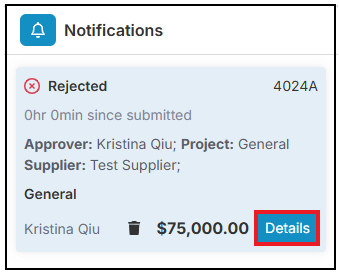
When an approver receives an approval request, a notification appears on their Dashboard via the Notifications section. The Approver responds to a Req Approval Dashboard Notification by selecting Details on the correct notification:
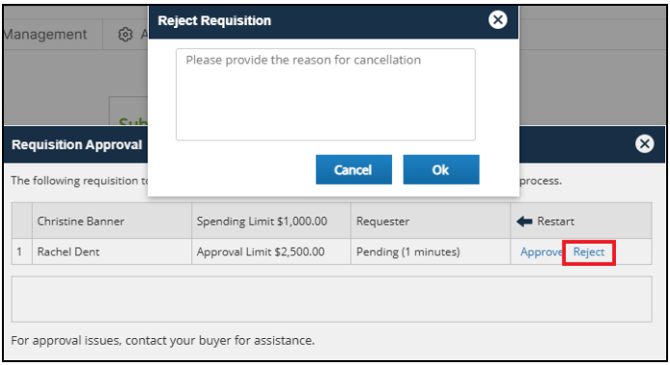
The next screen displays the requisition details in the background. A Requisition Approval window appears for the approver to Approve or Reject the requisition. If an approver selects Reject, a reason must be provided:
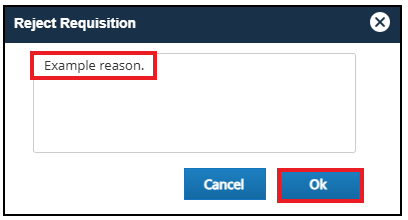
A rejection reason is added by the approver followed by OK:
The status of the requisition updates to Rejected with the rejection reason:
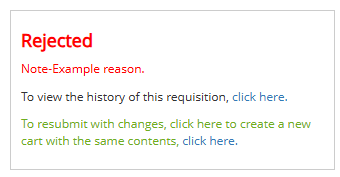
The original Requester will receive an Email Notification that includes the rejected reason:
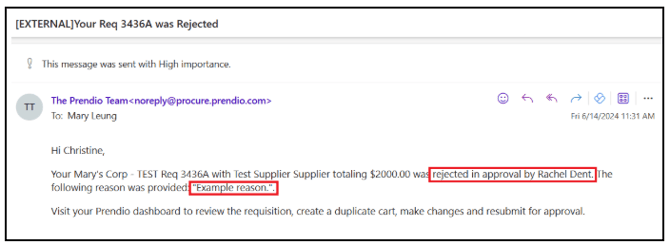
The Requester will also receive a Rejected Dashboard Notification via My Tasks:
If the Requester selects Details on the notification, the next screen will display the Order History of the Requisition. The rejection reason can be found via Order Updates:

If the Requester wishes to create a new cart with the same contents in order to make changes and re-submit, exit out of the Order History window.
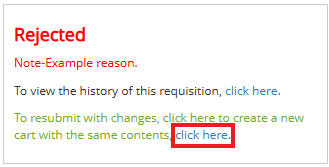
The original requisition details will display with a Rejected status in the top right. Select the link to create a new cart with the same contents:
A new cart will appear with the same contents:
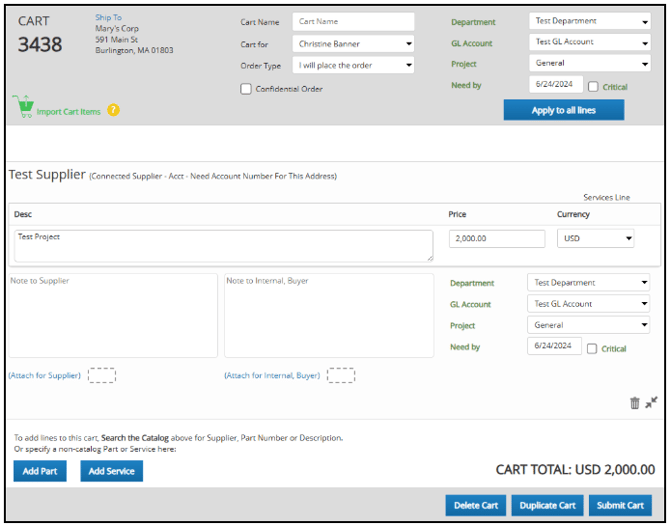
After making the necessary changes, the Requester can Submit Cart to create a new requisition for approvals:
Removing the Dashboard Notification
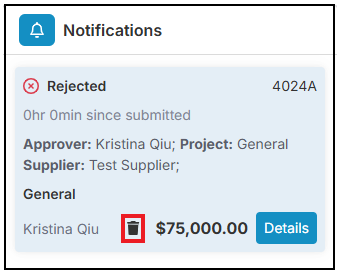
The Requester can also locate on their Dashboard the Notifications section followed by
Delete:
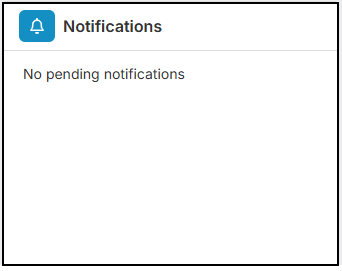
The notification will be removed from Notifications:
Duplicating a Cart to Make Changes & Submit as a New Requisition
If Make Cart active for Requester is selected, the rejected requisition will be deleted; however, a duplicate cart will be created for the user to edit before submitting as a new requisition:
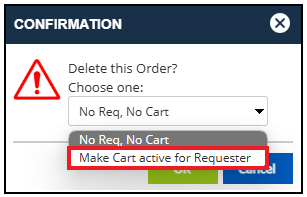
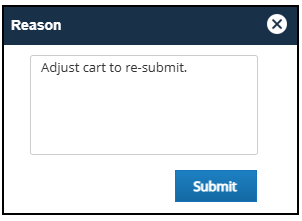
Add a reason and Submit:
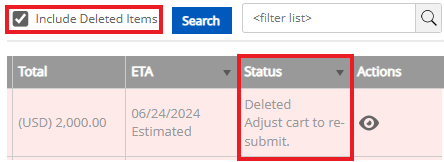
The requisition will no longer appear in the Orders view. Users can select Include Deleted Items for the deleted requisition to appear in pink:
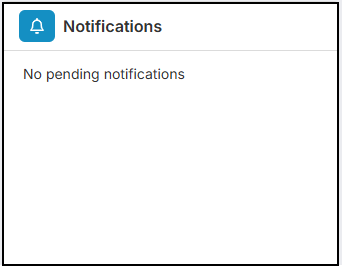
When the Requester returns to the Dashboard, the notification disappears from Notifications:
The Requester can locate the My Carts section of their Dashboard. A new cart with the same contents will be available:

The requester can select the cart to make adjustments:
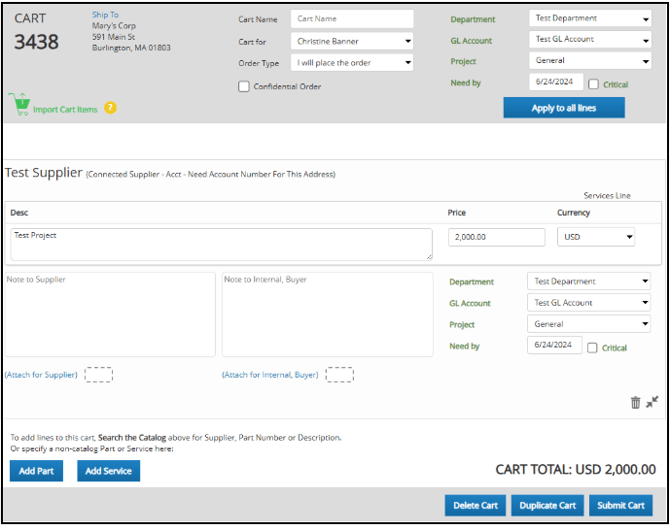
After making the necessary changes, the Requester can Submit Cart to create a new requisition for approvals:
After an approver rejects a requisition, the status of the requisition updates to Rejected with the rejection reason:
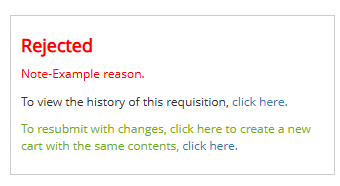
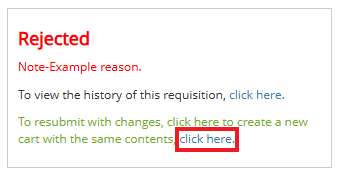
If the approver wishes to create a new cart with the same contents in order to make changes and re-submit on behalf of the original Requester, they can select the link to create a new cart with the same contents:
A new cart will appear with the same contents:
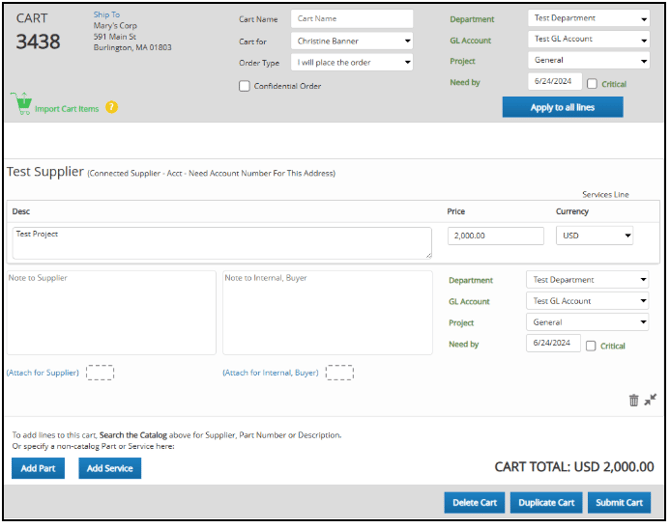
After making the necessary changes, the approver can Submit Cart to create a new requisition:
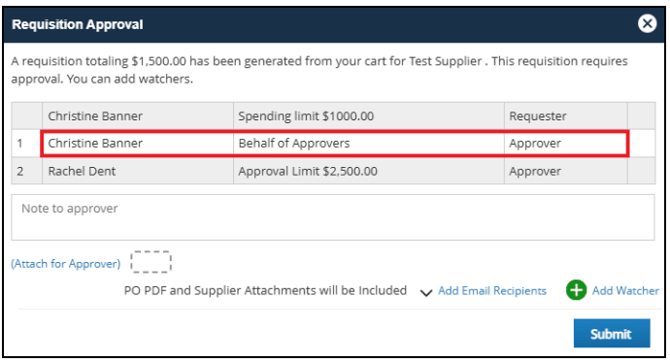
The Requisition Approval window appears with the approval path for the order. Since the approver is placing the order on behalf of the original Requester, the original Requester must also review and approve the requisition:
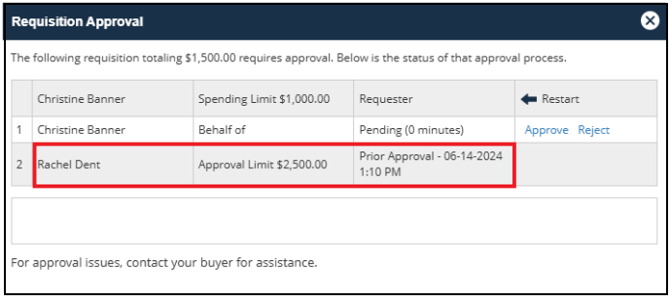
When the Requester views the requisition for review, the approver that submitted the requisition on the Requester's behalf will be noted as a Prior Approval:
