
Note: This document does not detail the creation of GL Accounts, Projects, and Departments. In this procedure one of each of these segments is created and named in Prendio so that they can be mapped to the same segment in QBD.
Launching The QBWC:
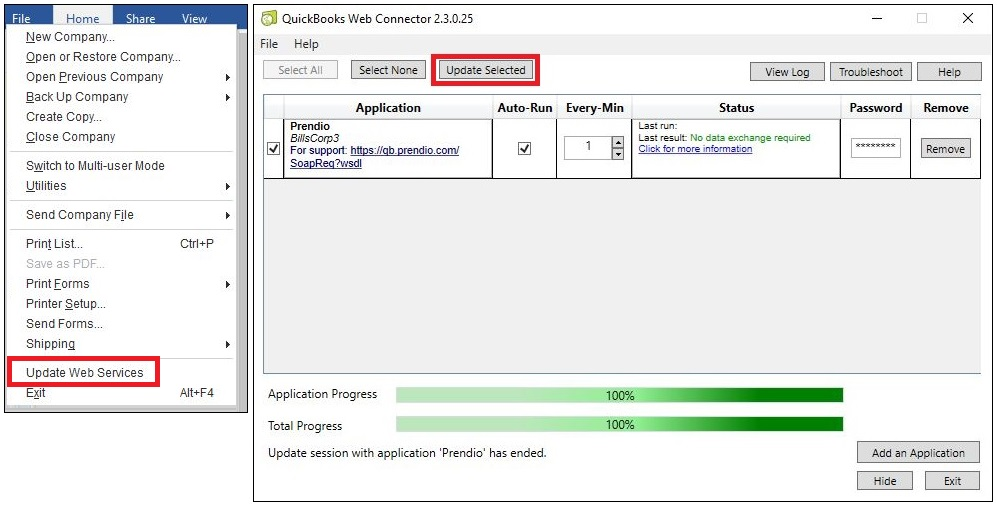
From the File pulldown menu in QBD select Update Web Services to launch the QBWC.
Helpful Hint: During the connection between Prendio and QBD there may be times when the systems are waiting for an exchange of information. Pressing the Update Selected button in the QBWC will continue the exchange of information when the systems are waiting.
Accounts Payable > GL Accounts > Prendio GL Account:
A GL Account (Account Expense) named Cafeteria was created earlier in QBD. A GL Account with the same name will be added to Prendio so that it can be mapped to this segment in QBD after the Sync.
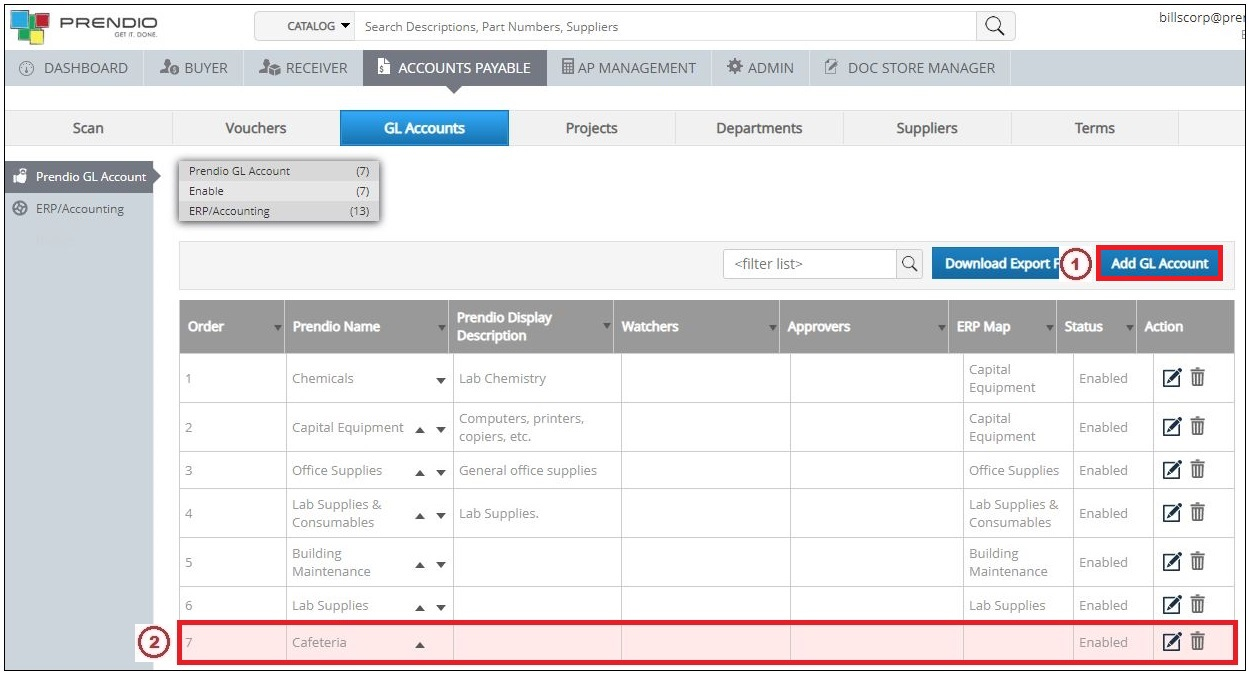
1. Add GL Account was pressed to create a new GL Account.
2. The GL Account was named Cafeteria to match the name in QBD.
Accounts Payable > GL Accounts > ERP/Accounting:
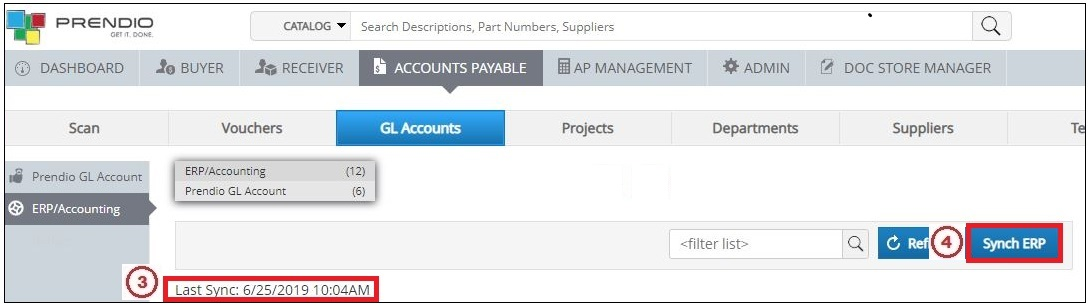
3. The window notes the date and time of the last sync.
4. Sync ERP is pressed.
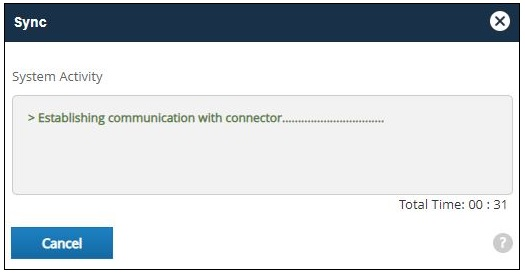
The Sync window opens, this window will automatically close when the sync is complete.
Accounts Payable > GL Accounts > Prendio GL Account:
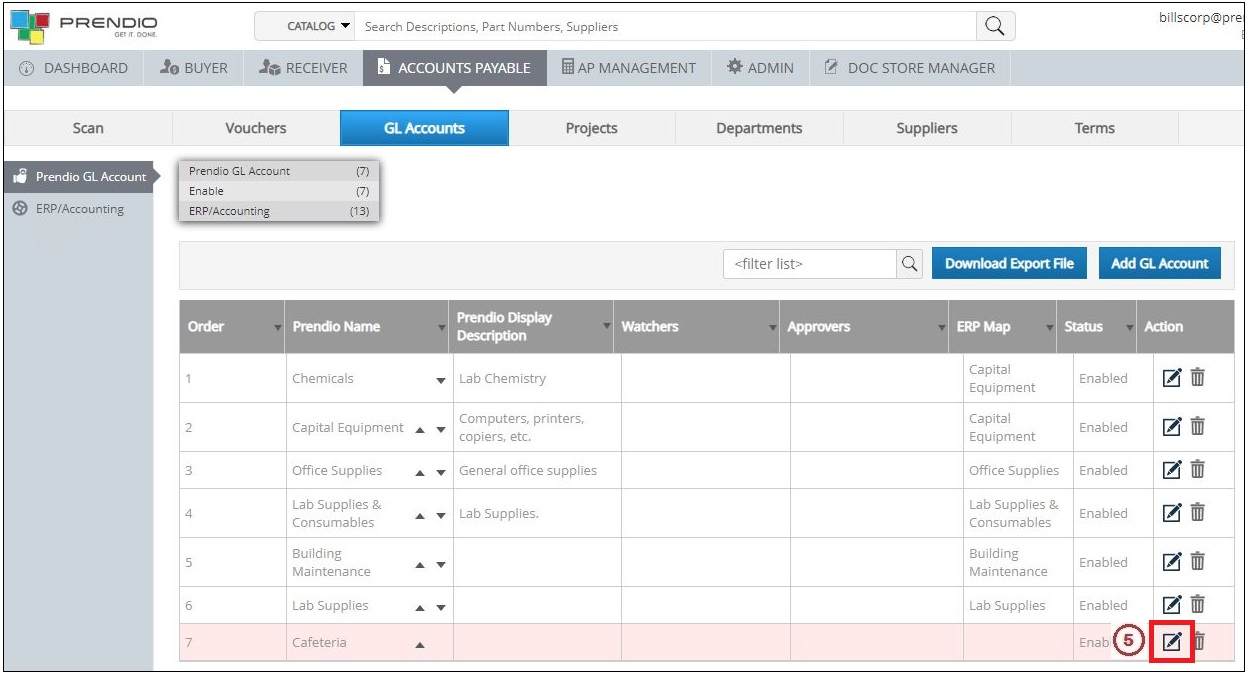
5. Locate the Cafeteria GL Account created earlier and press the Edit (pencil) icon.
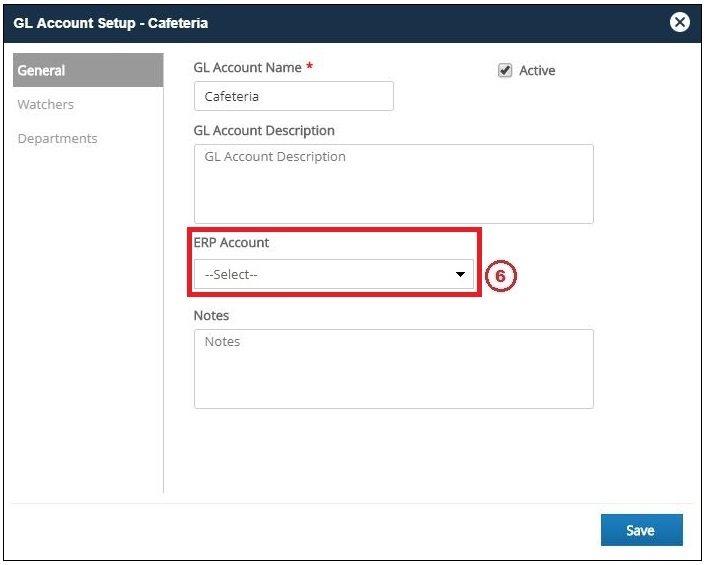
6. Click on -- Select -- in the ERP Account pulldown menu.
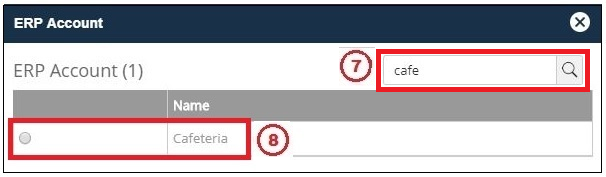
7. In the ERP Account window Search field cafe is entered to locate the Cafeteria ERP name.
8. Cafeteria is then selected.
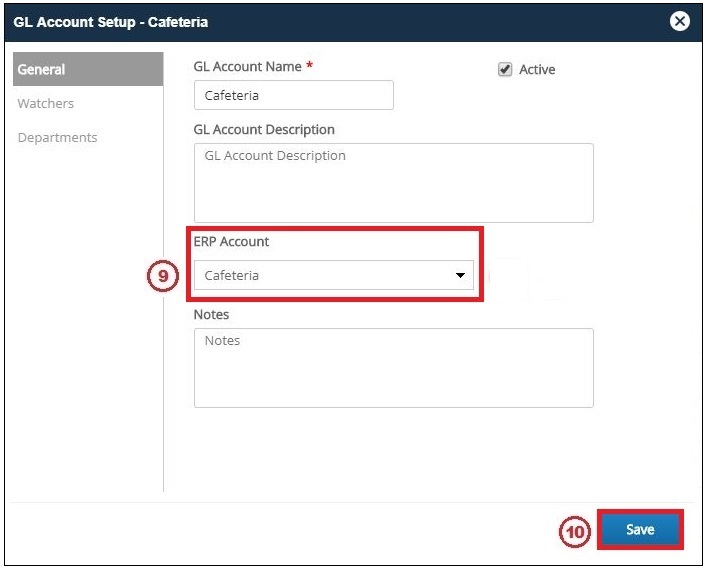
9. Cafeteria is now displayed below ERP Account.
10. Save is pressed.
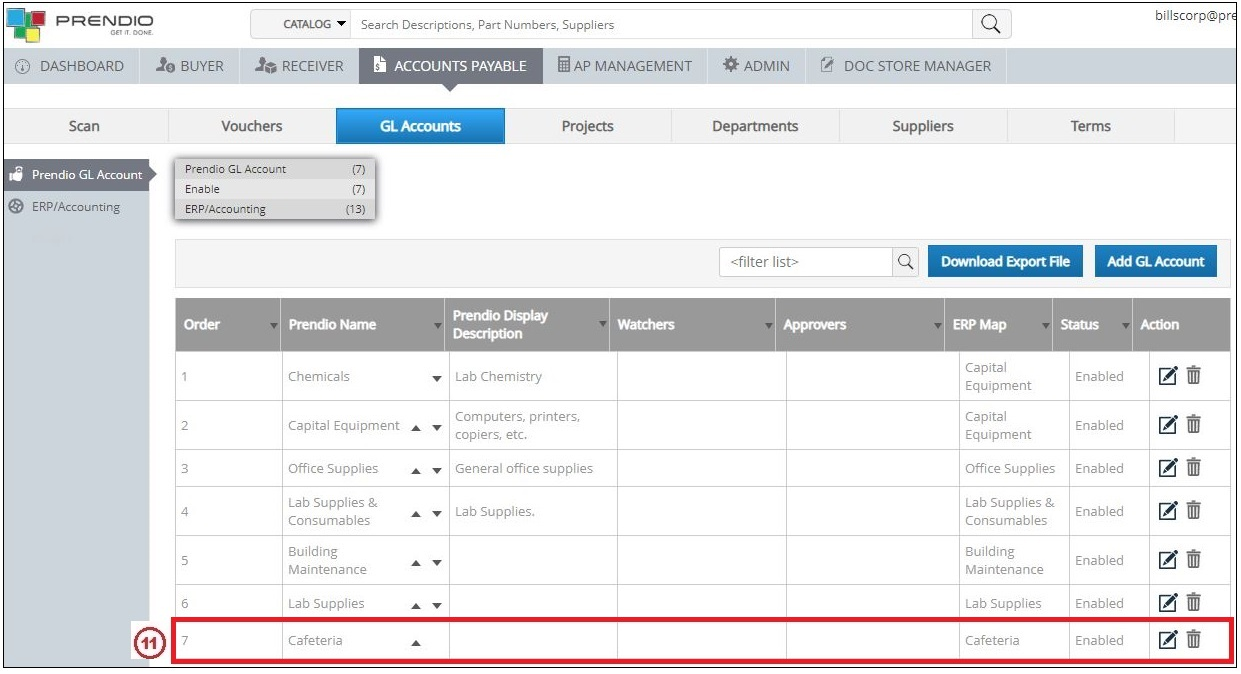
11. The Prendio Name Cafeteria now displays as mapped to the ERP Map Cafeteria.
Note: Department(s) must be selected for that Department(s) to be available when selecting this GL Account in a new cart.
Accounts Payable > Projects > Prendio Projects:
A Project (Customer) named Catering was created earlier in QBD. A Project with the same name will be added to Prendio so that it can be mapped to this segment in QBD after the Sync.
Note: Projects is an optional segment in Prendio.
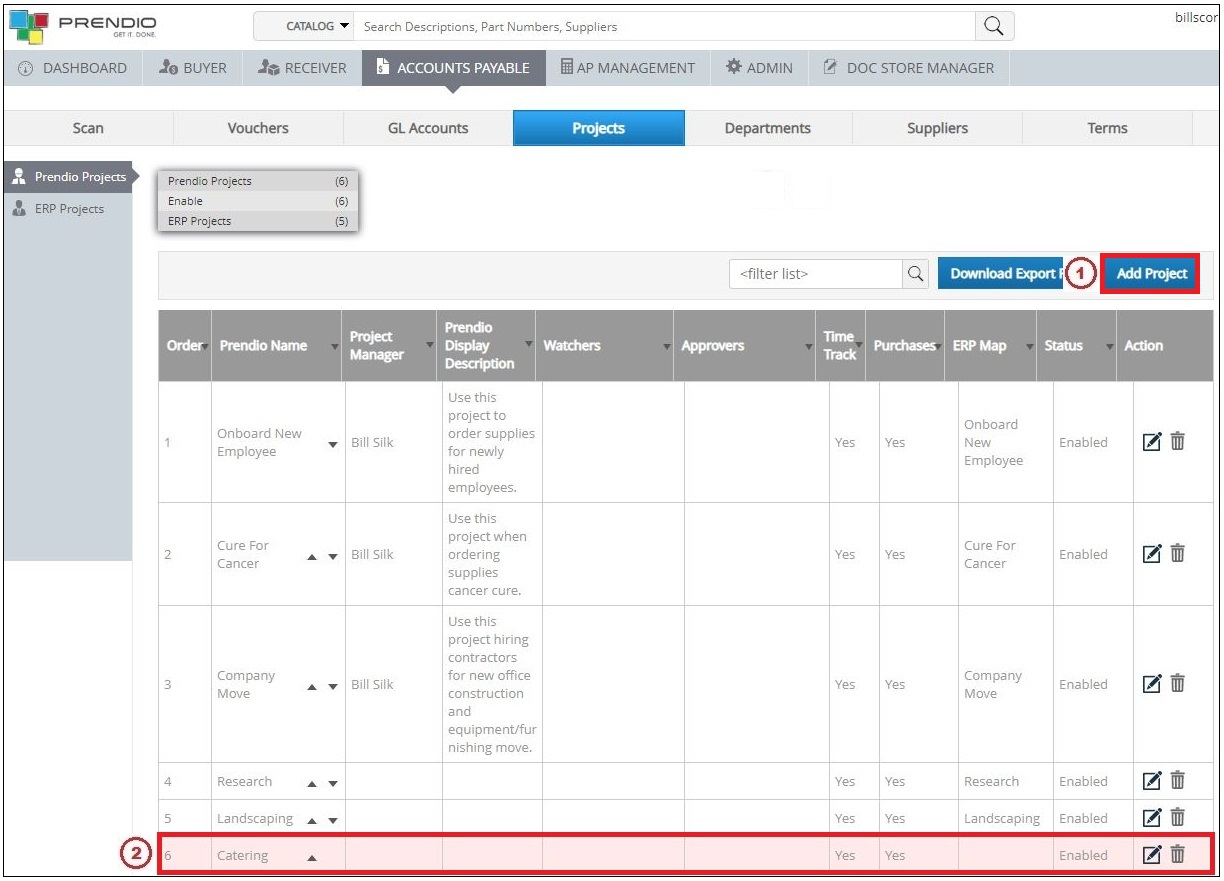
1. Add Project was pressed to create a new Project.
2. The GL Account was named Catering to match the name in QBD.
Accounts Payable > Projects > ERP Projects:
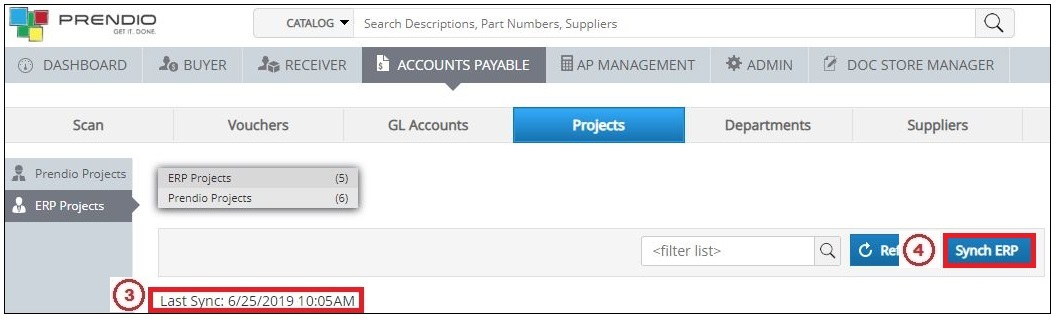
3. The window notes the date and time of the last sync.
4. Sync ERP is pressed.
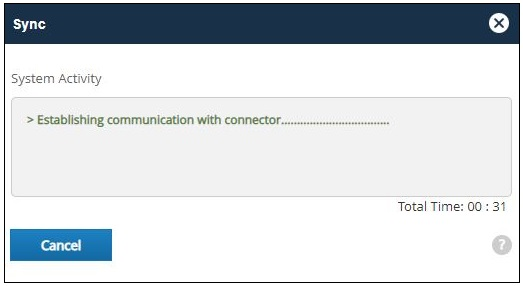
The Sync window opens, this window will automatically close when the sync is complete.
Accounts Payable > Projects > Prendio Projects:
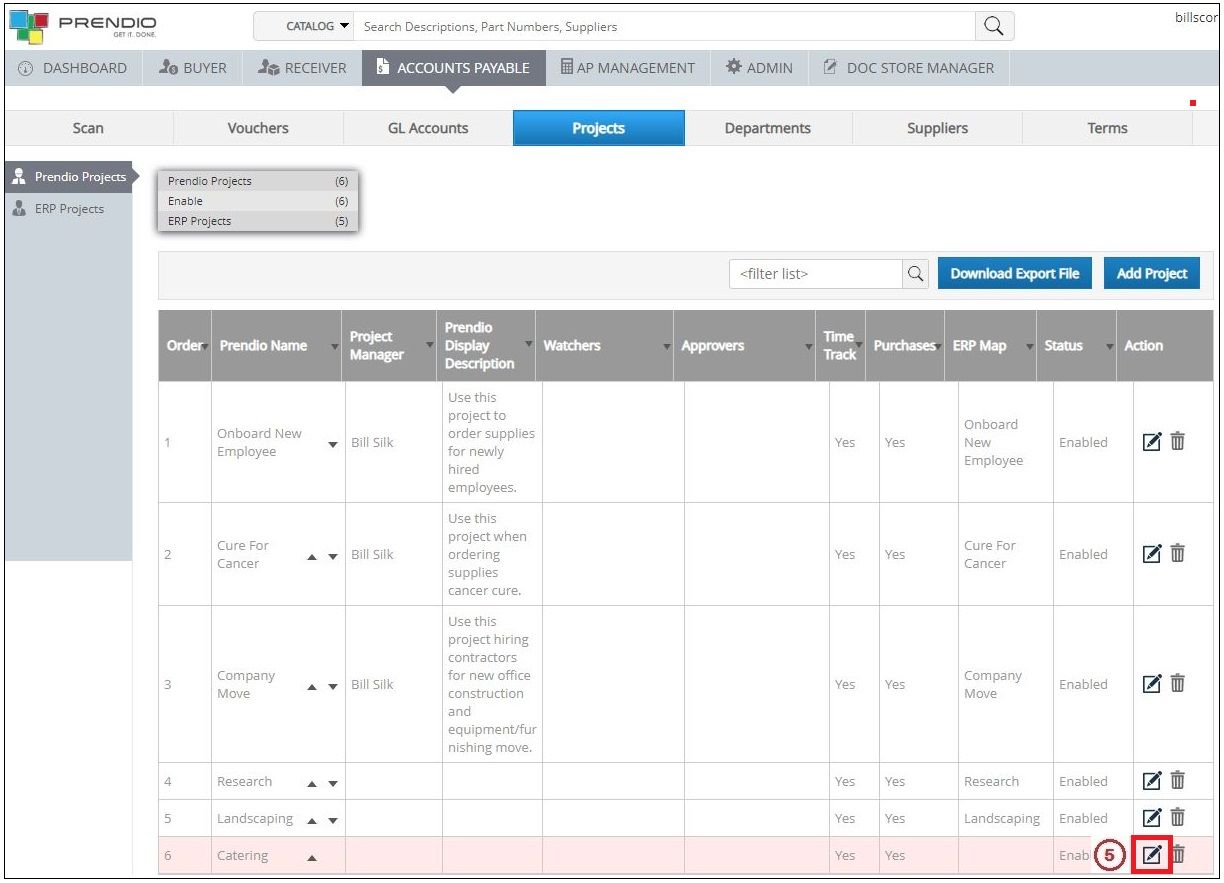
5. Locate the Catering Project created earlier and press the Edit (pencil) icon.
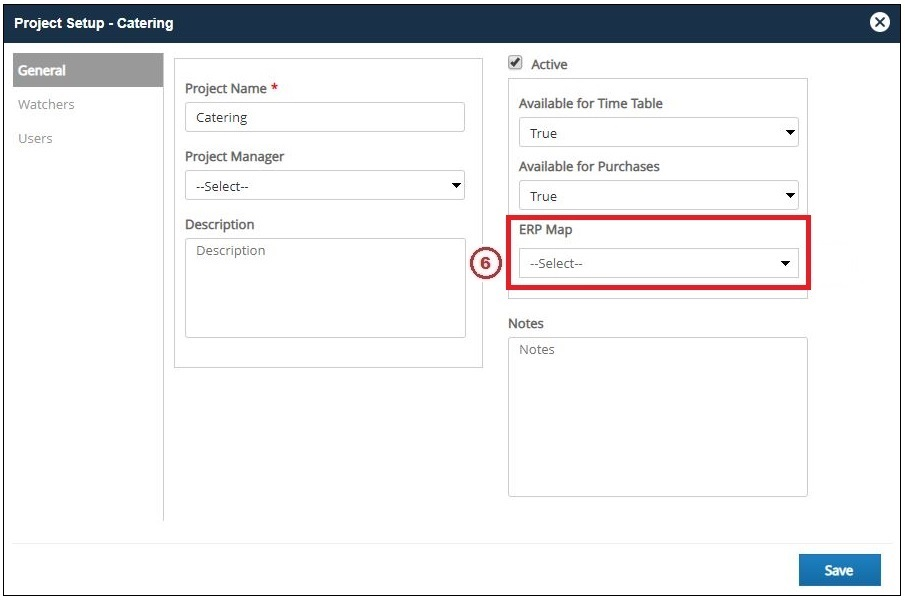
6. Click on -- Select -- in the ERP Account pulldown menu.
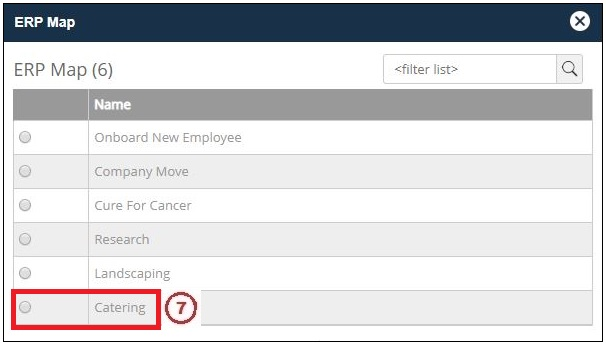
7. Catering is then selected.
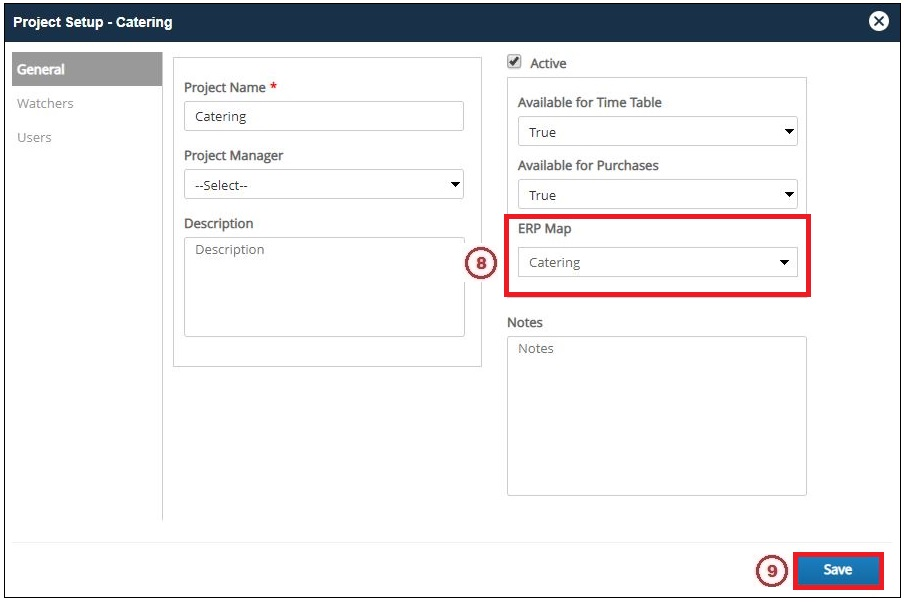
8. Cafeteria is now displayed below ERP Account.
9. Save is pressed.
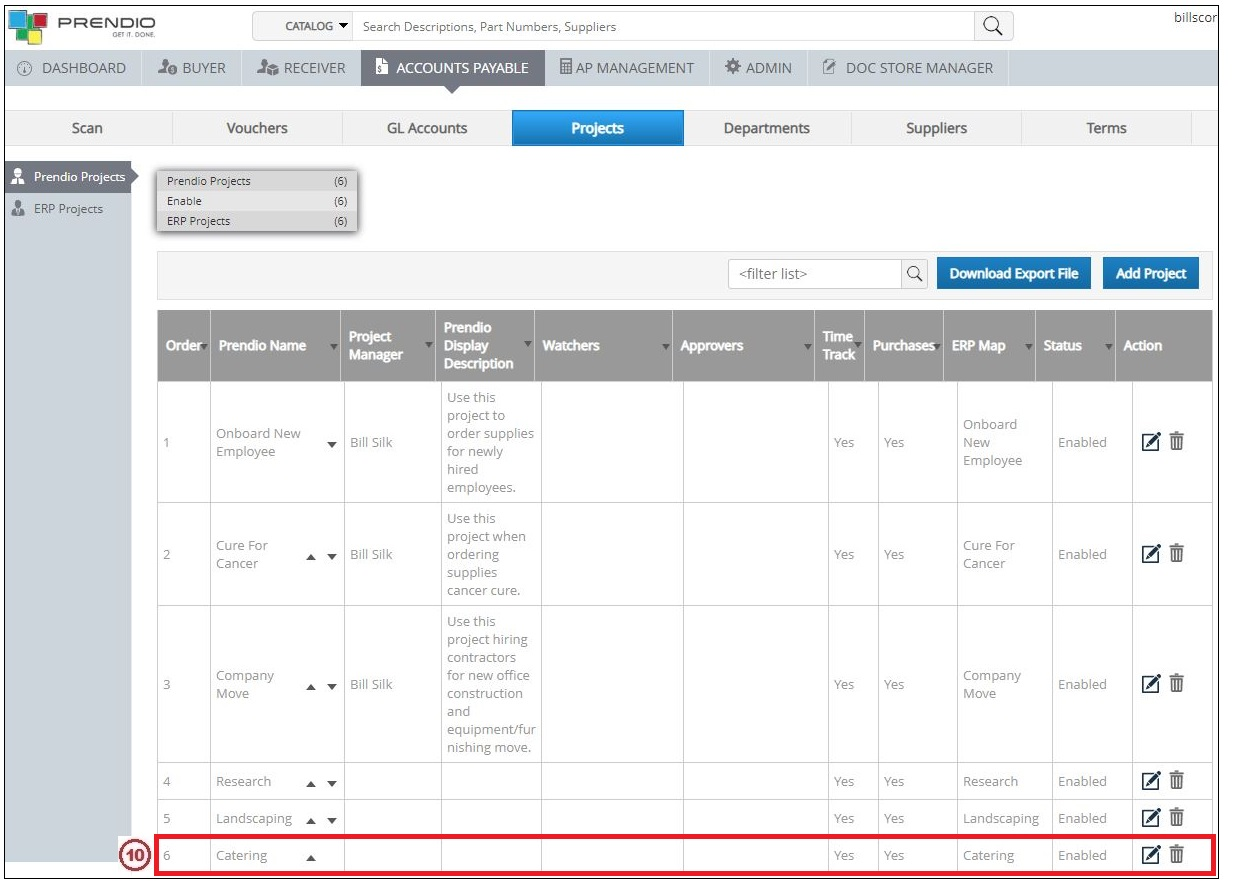
10. The Prendio Name Catering now displays as mapped to the ERP Map Catering.
Note: User(s) must be selected for the Project(s) for a project to be available for that user when creating a new cart.
Accounts Payable > Departments > Prendio Departments:
A Department (Class) named Lunch was created earlier in QBD. A Department with the same name will be added to Prendio so that it can be mapped to this segment in QBD after the Sync.
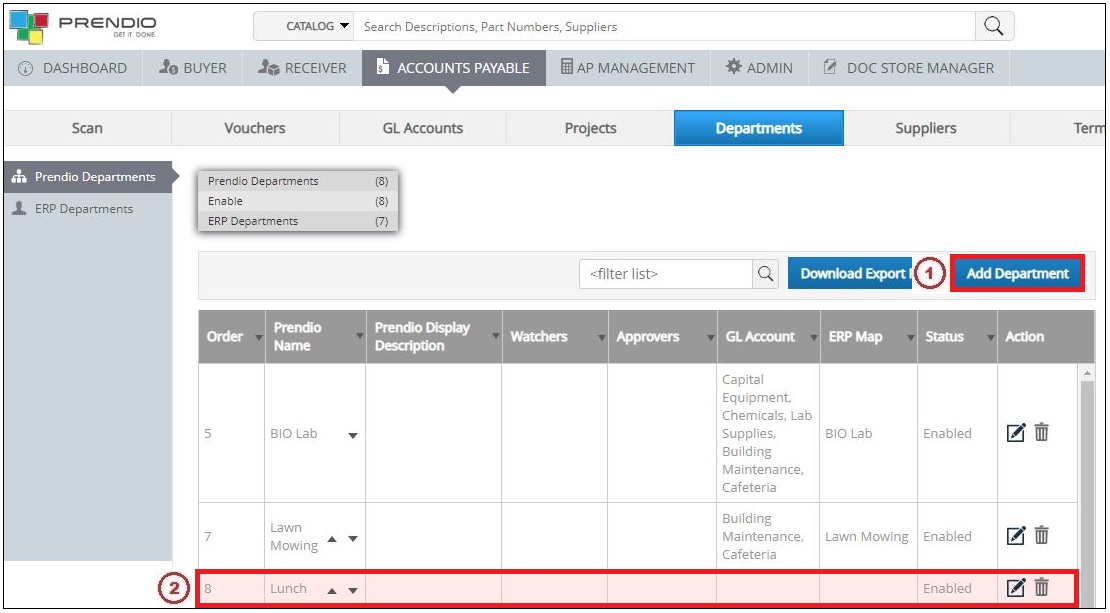
1. Add Department was pressed to create a new Department.
2. The Department was named Lunch to match the name in QBD.
Accounts Payable > Departments > ERP Departments:
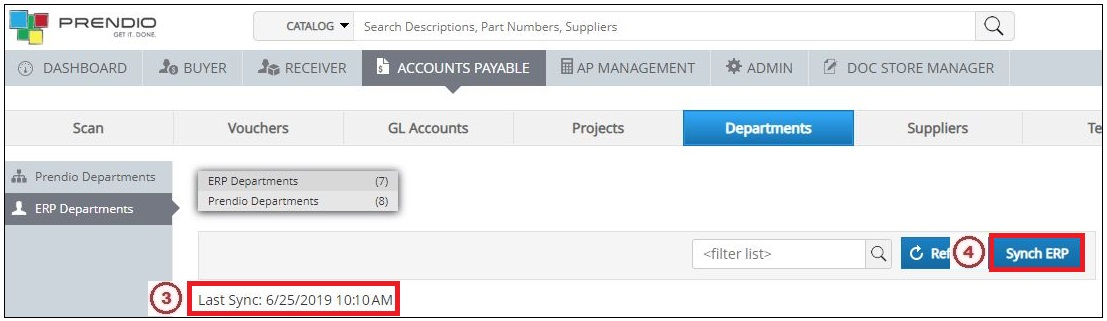
3. The window notes the date and time of the last sync.
4. Sync ERP is pressed.
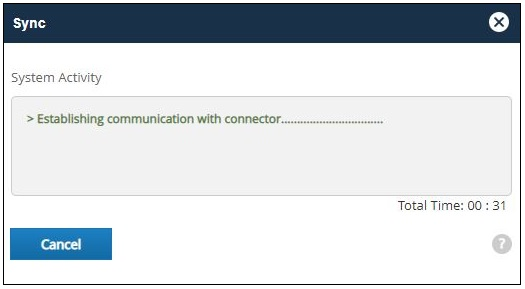
The Sync window opens, this window will automatically close when the sync is complete.
Accounts Payable > Departments> Prendio Departments:
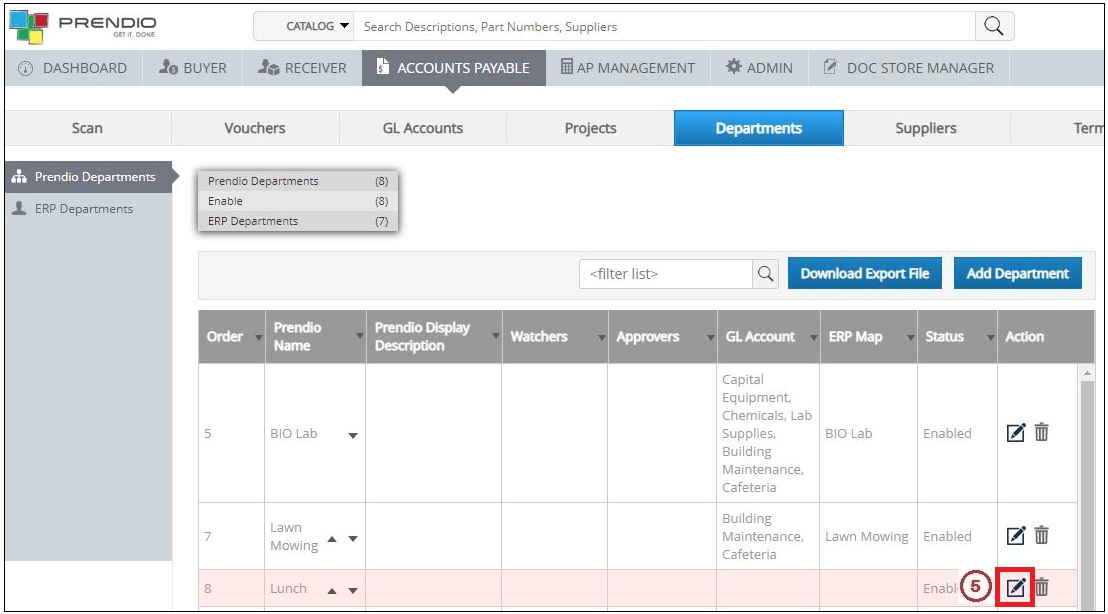
5. Locate the Lunch Department created earlier and press the Edit (pencil) icon.

6. Click on -- Select -- in the ERP Account pulldown menu.
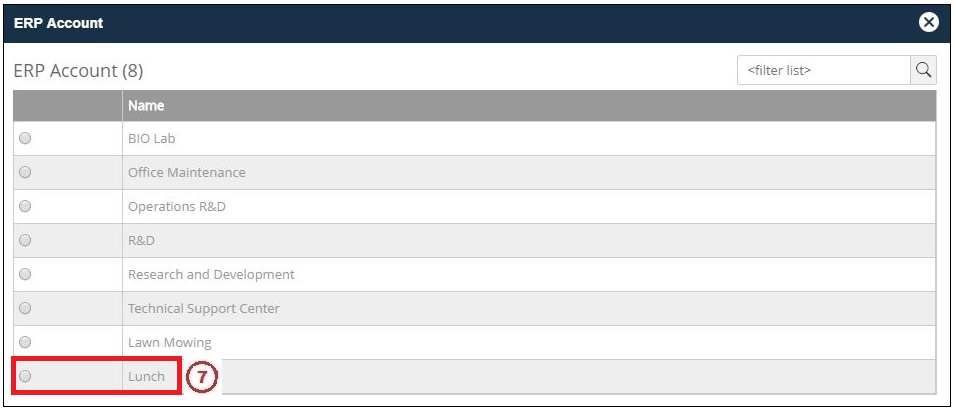
7. Lunch is then selected.
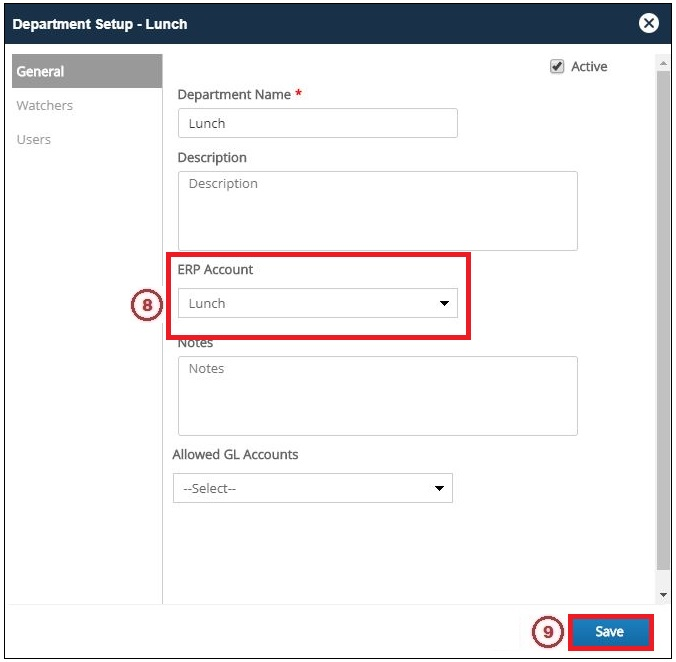
8. Cafeteria is now displayed below ERP Account.
9. Save is pressed.
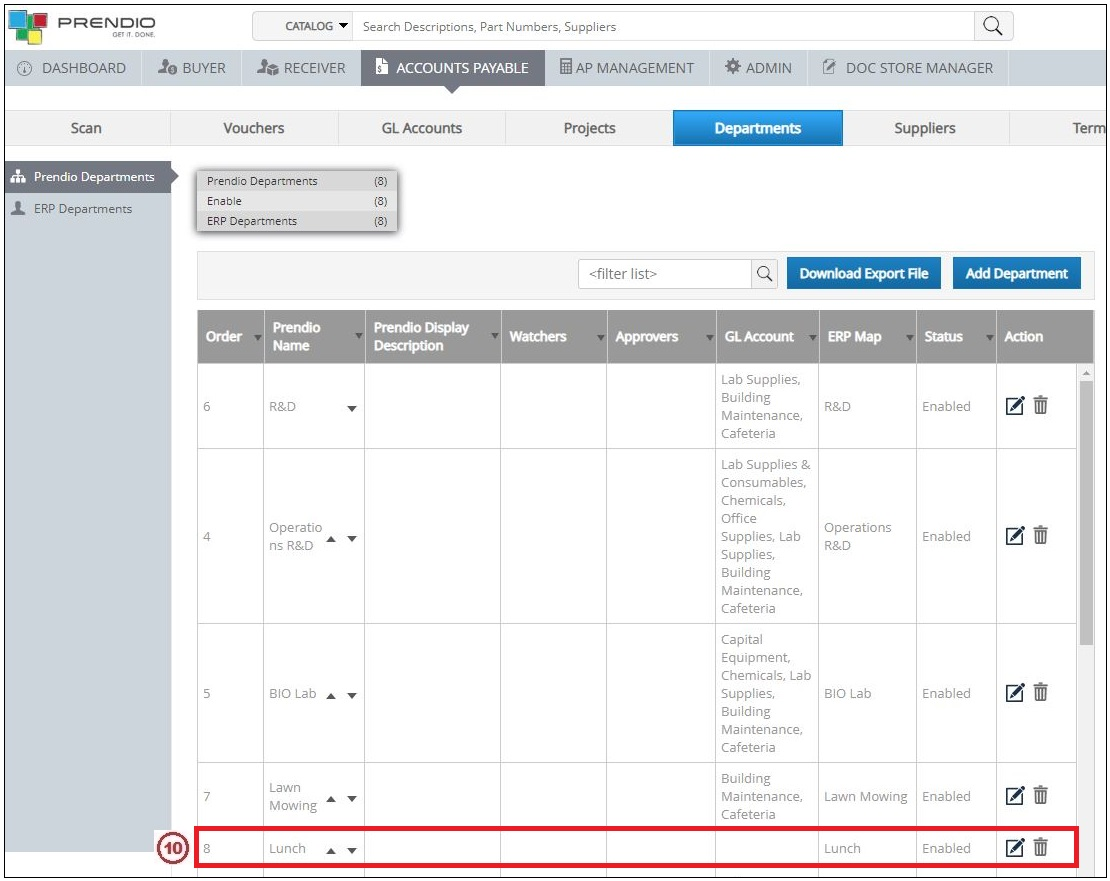
10. The Prendio Name Lunch now displays as mapped to the ERP Map Lunch.
Note: User(s) must be selected for the Department(s) for a department to be available for that user when creating a new cart.
AP Management > AP Push:
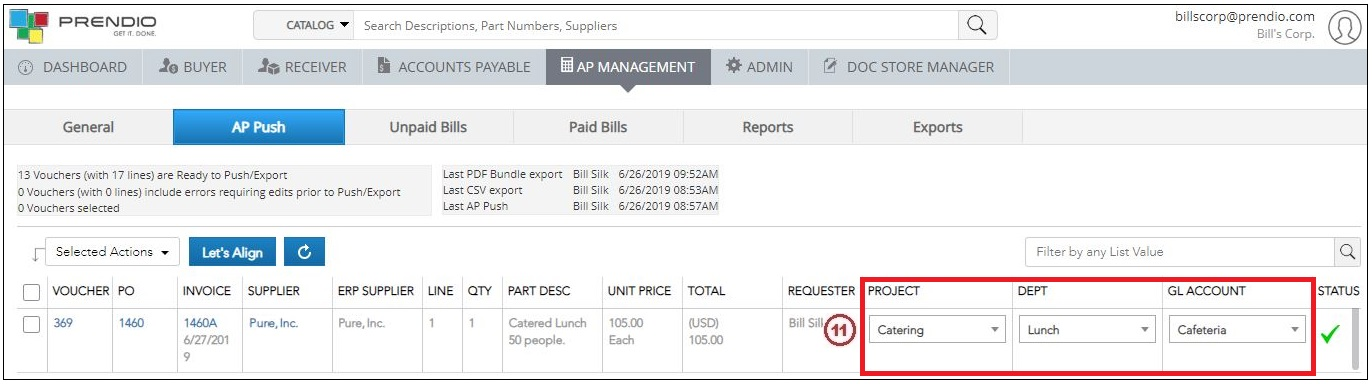
An order was created using the GL Account, Project, and Department just created. This order was taken through the Prendio Workflow and is ready to be pushed to QBD for payment.