
Note: This activity is carried out by the IT service provider or IT admin for your company.
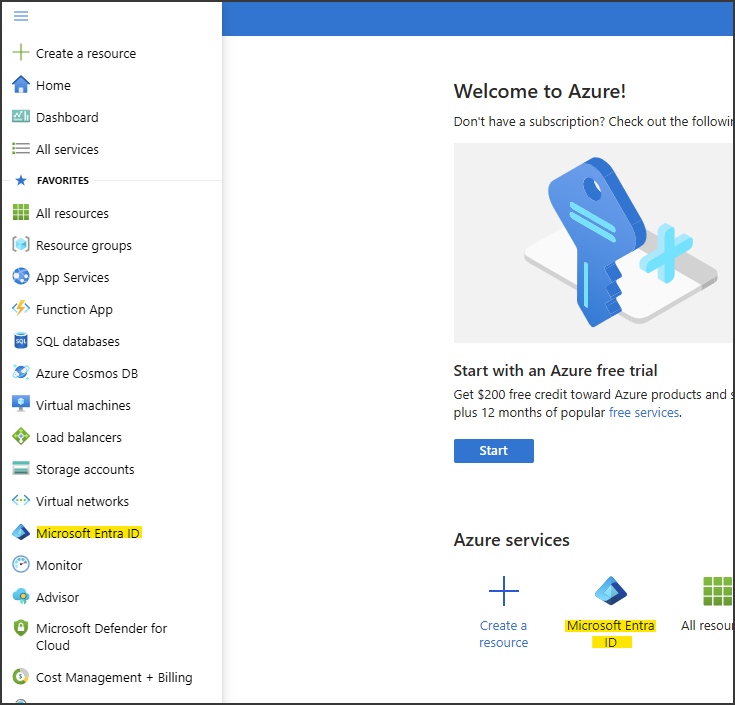
2. Select Microsoft Entra ID.
3. Select Enterprise Applications.
-png-1.png)
4. Click on New application.
-png-1.png)
5. Select Non-gallery application.
3. Select Enterprise Applications.
4. Click on New application.
5. Select Non-gallery application.
-png-1.png)
6. Enter a Name for the application, like "Prendio".
7. Click on Add button.
7. Click on Add button.
-png-1.png)
8. Select Set up single sign-on.
-png-1.png)
9. Select SAML.
-png-1.png)
10. Click Edit in Basic SAML Configuration section.
-png-1.png)
11. Enter the relevant configurations for Identifier, Reply URL, and Logout URL. Click Save.
The URLs in the screen capture are based on the values provided in the Configuring Prendio with Microsoft Entra ID SSO Authentication help doc.
The URLs in the screen capture are based on the values provided in the Configuring Prendio with Microsoft Entra ID SSO Authentication help doc.
Note: The Sign on URL configuration is left blank because this is application uses IDP initiated SSO.
-png-1.png)
12. Back on the SAML setup page, scroll down to the SAME Signing Certificate section. Click the Copy button for the App Federation Metadata URL.
You can use the Metadata URL to set up SSO in Prendio as instructed in the Configuring Prendio with Microsoft Entra ID SSO Authentication help doc.
-png-1.png)
13. To test the Entra ID application itself, scroll down to the Test single sign-on section and click the Test button.
-png-1.png)
14. Click Sign in as current user to test IDP initiated SSO.
-png-1.png)