
Updated on September 19, 2025
The Prendio Catalog contains part number items that a company has previously ordered as well as items uploaded by preferred suppliers.
Please note that not all items will appear via a Catalog Search. If an item cannot be found using the search, users can create a manual cart to complete the details. For more information, please visit: Creating an Order with a Manual or Custom Cart
The Catalog Search is located at the top of the interface. A search for Descriptions, Part Numbers, and Suppliers can be performed.
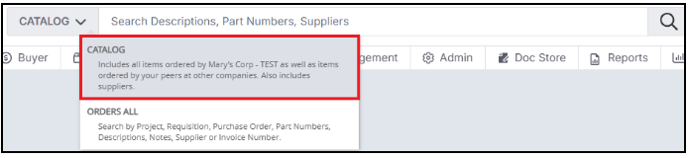
If using the Configurable Dashboard:
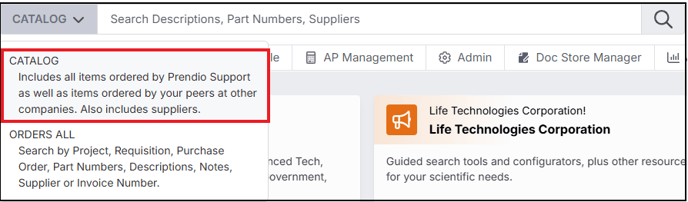
Select Catalog add in the search field the part number or description via the search field. Select Enter or the magnifying glass to begin the search:
Prendio will find items matching the part number or description on the next screen:
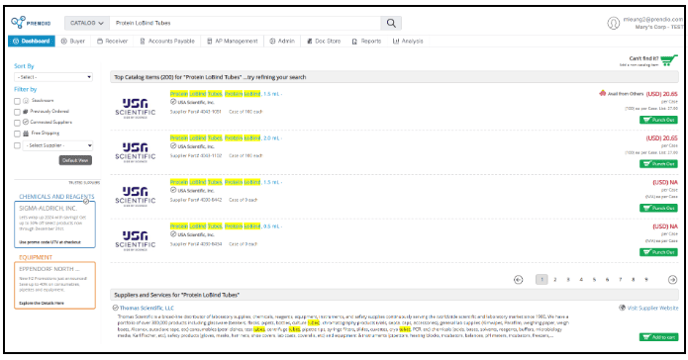
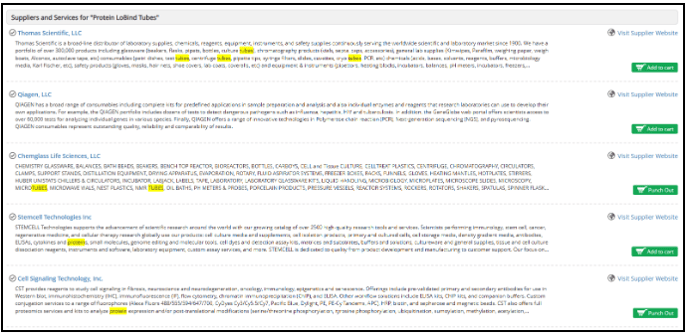
The bottom section of the screen will display the suppliers that offer the item:
Filters can also be added to refine the search:

A Piggy Bank icon will appear for the Best Deals:
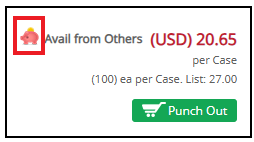
Users can select the Piggy Bank to view the item:
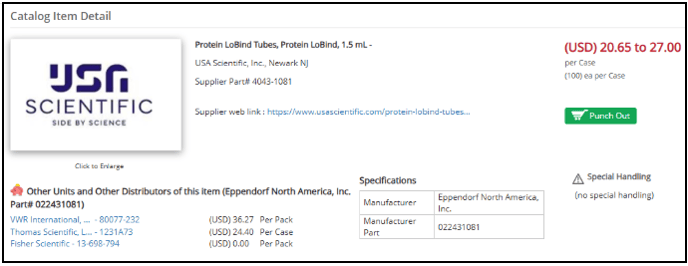
After deciding on the item to order, users can select Add to cart to display options:
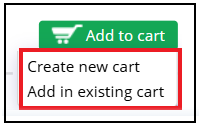
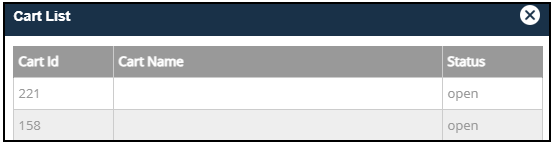
Selecting Add in existing cart will automatically add the item to an Open Cart created by the Requester. If a Cart is not being Viewed, a Cart List will display and the item can be added to any of the Requester's Open Carts (found in My Carts on the Dashboard):
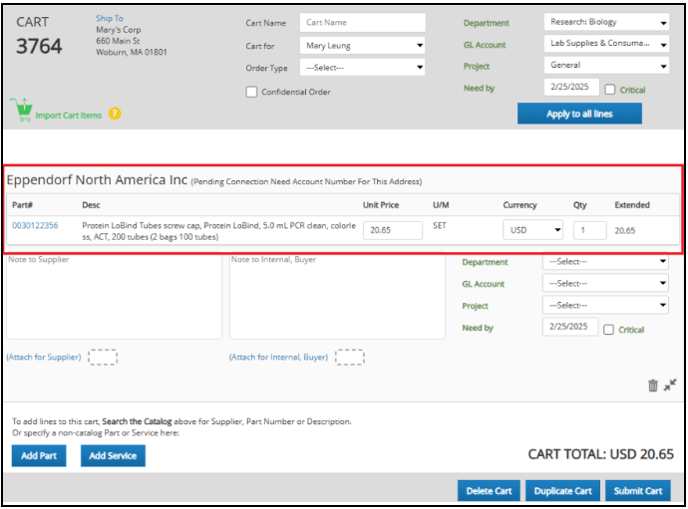
Selecting Create New Cart generates a New Cart and the Line Item details are populated:
Users can add additional items from the catalog by completing another search:
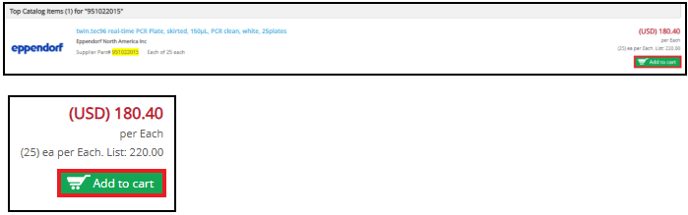
After an item has been located, users can select Add to cart:
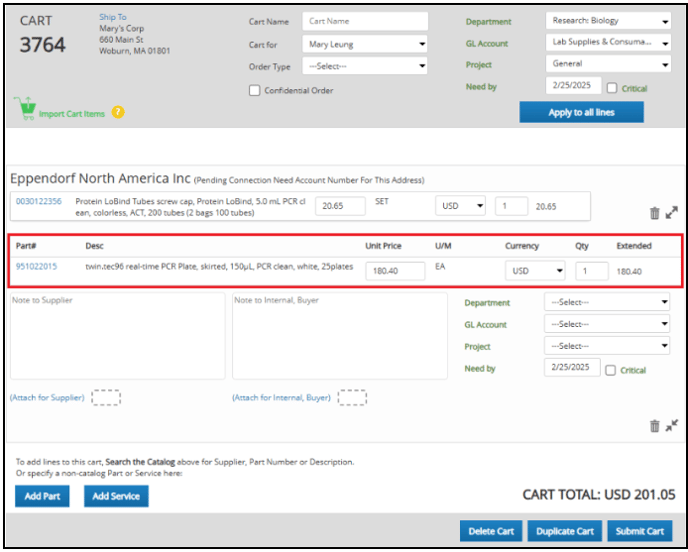
The item will automatically be added to the existing cart as another line item:
Please note that if any additional items added to a cart are from a different supplier, Prendio will automatically separate the cart into separate orders by supplier after it is submitted. Each order will have a different PO number.
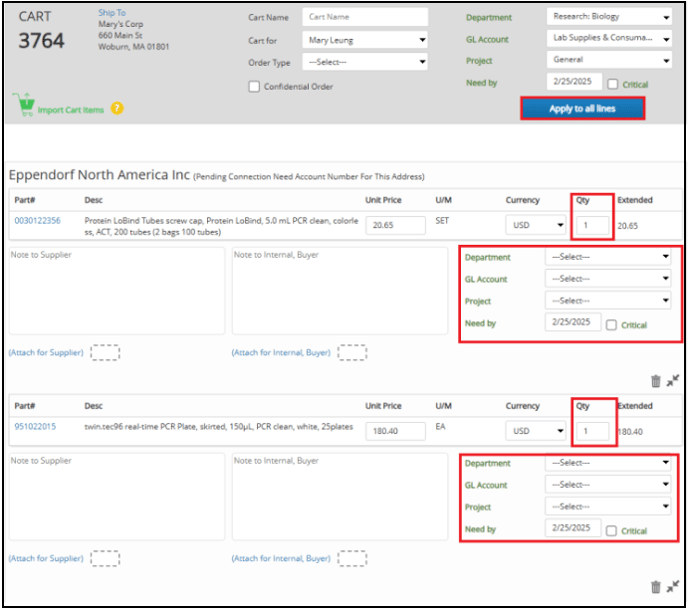
Adjust the Quantities or each line if needed. Update the Segments for each line. Apply to all lines can be selected to automatically populate each line with the same accounting segments (This is a convenience, different Segments can be selected for each Line Item):
Select Submit Cart when complete:

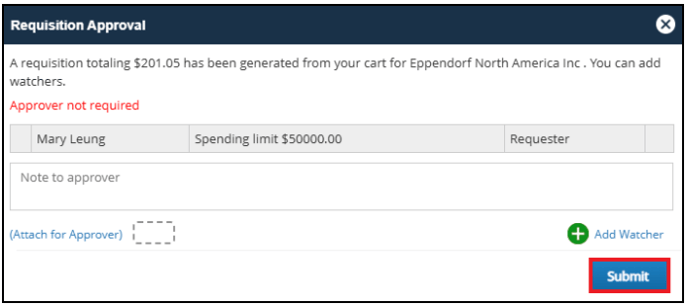
The Requisition Approval window appears indicating if approval is required before the order can be processed. Select Submit:
Users will be directed to the Dashboard. The Cart and the Req are displayed in the My Orders tab:

Watch a video demo of creating a cart using the Catalog Search