
Updated May 19, 2023
Please note that only one cart may be uploaded at a time. This feature supports “I Will Place the Order” and “Buyer Will Place the Order” types. Orders that need to be placed via a Punchout are not eligible to have a cart imported.
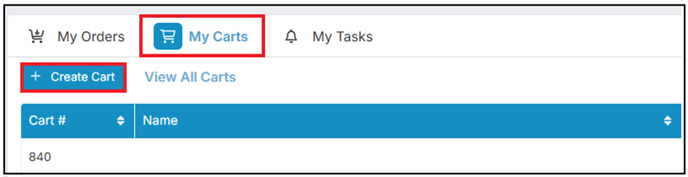
Prendio will generate a new manual cart. Import Cart Items can be selected in the top left:

A screen will appear to enable selecting a .xlsx, .xls, or .csv file to import to Prendio:

A template for the cart can be downloaded located on the top right of the screen:
![]()
When completing the template to be uploaded, please do not fill in columns that are not applicable for the cart (ex. Accounting Segments not used by the company should be left blank, a part number for service lines should be left blank, etc).
Please also ensure that any suppliers match the global catalog name exactly in Prendio (ex. BioLegend, Inc. in Prendio should be listed as BioLegend, Inc. on the template with the exact spelling and punctuation). If supplier names do not match, this may delay the order from being processed.
Areas to complete on the template include (Areas in bold and marked with a * are required fields) :
Supplier*, Part Number, Description*, PO Qty, U/M, Currency, Project, Department, GL Account, PO Unit Price, Need By Date, Notes To Supplier, Notes To Internal Buyer, Website (required for new suppliers in Prendio)
After a . xlsx, .xls, or .csv file is prepared, it can be uploaded to the screen (Select file or drag and drop to the screen). Once uploaded, the cart details will display:

Select to the left the row that will serve as the header and click on Next:


The next screen will provide an opportunity to match each column with the appropriate segment/selection. Once the columns have been matched, select Next:

The final screen will display all part and service lines in the cart with the appropriate columns matched to the correct segments/selections.
Verify all information is correct. Corrections can be made by clicking into each cell and adjusting as needed. If any rows should be left out of the cart, check off the row on the left and select Discard selected rows:


Select Save once complete. A message will appear in case errors are detected:

If errors are detected, select Cancel. Errors may be shown by selecting Show only rows with errors:

Errors will appear with the column highlighted in red:
In the example below, the Need By Date is listed in the incorrect format. The date must be in a numerical format, yyyy-mm-dd:

Adjustments to any errors can be made in the cell:

As errors are corrected, they will disappear from the error list:

After any errors are corrected, select Save. A message will indicate that the import was successful and results may be downloaded. Users can download this file for future use and import if needed. Close once all set:

All part and service lines from the import will populate into the cart and will be separated by supplier:

Keep in mind to select the Order Type at the top as well as other appropriate selections/adjustments:

Review the cart and make any final adjustments. Submit Cart once all set. Once submitted, the approval window will appear. If multiple suppliers were used in the cart they will be separated into separate orders:

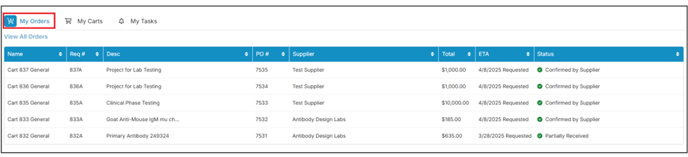
Submit on the bottom right of the approval window once set. Prendio will return to the Dashboard and cart details can been seen in the My Orders tab:
Related Help Docs: Creating an Order with a Manual or Custom Cart