Create Receipts
Create a Receipt for a matched packing slip
Updated on May 2, 2025
Adding in Details of the Packing Slip in Scan Match
Converting a Part Line to a Service Line
Order History After A Packing Slip And Receipt Were Processed
Introduction
Note: Functionality covered in this article is available to the Receiver role. See your admin to assign roles.

The Prendio Receipt is the artifact of that (=) effort; accurate accounting of the goods and services received as well as goods and services remaining "open" for future receipt on a specific Purchase Order.
Packing slips uploaded via Automated Processing or via Scan Upload Email will prompt OCR technology to automatically extract data from these files and process key details. The OCR tool will automatically attempt to match each document to an existing PO. Files in progress will display a loading indicator to the top right of the document and all fields will be greyed out until the process is complete: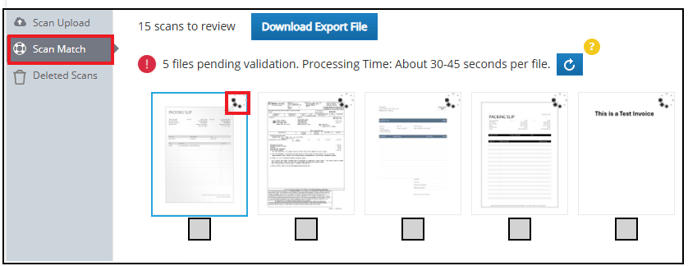
A message will appear indicating the number of files uploaded from Scan Upload. The validation process takes between 30-45 seconds per file, but users can also select the Refresh button to update progress:
OCR matches the packing slip details with the corresponding purchase order. Once matched, packing slips will move to the Receipts tab of the Receiver role for final processing.
If a packing slip cannot be matched to an existing PO, the packing slip will remain in the Scan Match queue with a note icon located on the top right of the document:
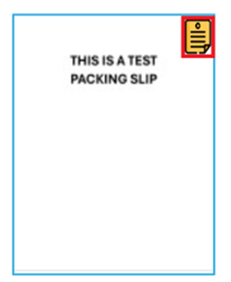
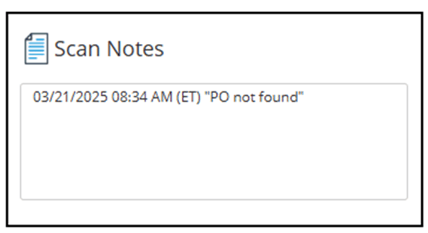
For any documents not matched to a PO, OCR will automatically complete any detected fields and Scan Notes will be added to indicate why a receipt could not be created. Users can also add additional notes for further clarification:
These packing slips require manual review. After review, users can manually add in the packing slip details in the Scan Match. Select Done, Next to move the packing slip to the Receipts tab for final review:
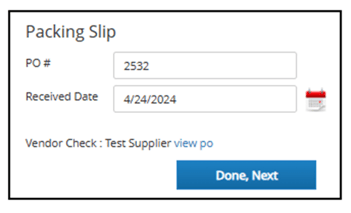
Packing Slips uploaded via Manual Processing will stay in the Scan Match queue for review and details must be added in manually. A user with the Receiver or Accounts Payable role must manually select the document and add details to the right:
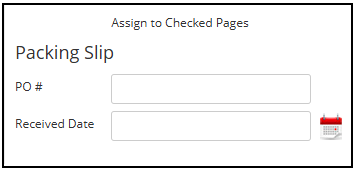
When complete, select Done, Next to move the packing slip to the Receipts tab for final review.
Other Capabilities
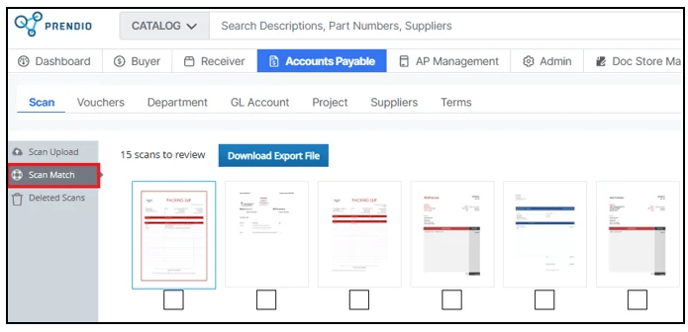
In Scan Match, the number of scans to review appears as thumbnails at the top. If there are many scans to review, arrows will display to advance forward and back:

When a thumbnail is selected, it will display in a larger view:
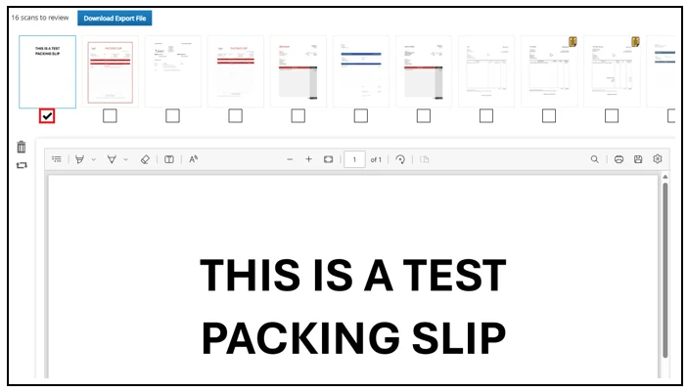
Watch a Video Demo of Packing Slip Details Automatically Completed via OCR
After details of a packing slip are added in the Scan Match, they move to Receipts. Users can process Scanned Packing Slips or Proxy Packing Slips into Receipts:
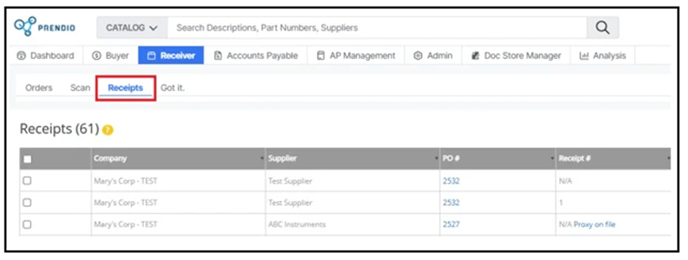
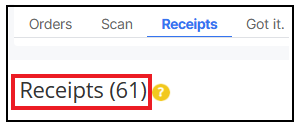
The total Number of Receipts to be processes is listed at the top:
The Filter field can be used to search for data in this window and the Refresh button is used to clear the filter and display all receipts:

The Company, Supplier, PO #, Receipt #, Date Items Recd, Receipt Status, and Notes columns can be sorted using the Arrowhead icons:
Clicking on the link in the PO # column will display the PO in another browser tab:

Receipts created through OCR can be identified by an automatic note that includes the date, time (ET), and the message: Receipt created via automated scan match process:

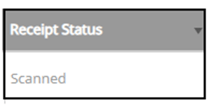
Receipts generated via the automated scan match will automatically be assigned a receipt number. Users can determine whether the receipt has been reviewed and confirmed via the Receipt Status column. Receipts that must be reviewed will have a Scanned status:
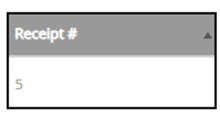
A Receipt # will also be assigned:
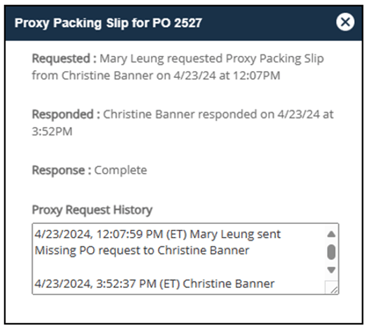
Packing Slips that have not been automatically created into a receipt via OCR will appear as N/A in the Receipt # column and Scanned as the Receipt Status:



Edit a Receipt
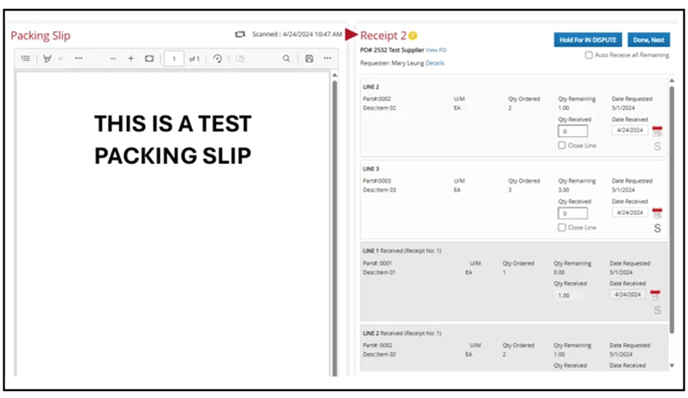
Each line of the original order is represented on the right along with the following. Lines from previous receipts are also listed (in grey) for information purposes only.
- Qty Ordered (on the original Purchase Order)
- Qty Remaining (after previous receipts are taken into account)
- Qty Received (this receipt)
- Date Received (this receipt) - used to track supplier delivery performance
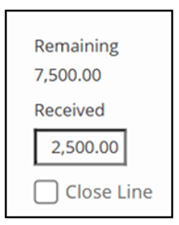
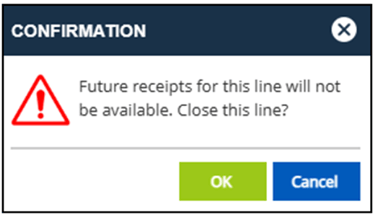
- Close Line (checkbox) - allows for exceptional situations in which receiving fewer than what is remaining open on the order should be considered the final receipt. No more items will be received. Example - a few less than a large number of custom widgets are manufactured and delivered. According to your agreement, you have allowed for this and no more widgets will be delivered. You want to close the line and consider it complete.
If a receipt was created via automated scan match, packing slip details will automatically add in the Qty Received for each line on the packing slip. Users must verify that the quantities are correct and adjust if needed.
If automated scan match was unable to add in the correct quantities or amounts or if packing slips were uploaded via Manual Processing, users must manually add these details. If adding in the Qty manually, note the part lines listed on the packing slip/proxy packing slip on the left. Add in the Qty Received to the corresponding line on the right. Ensure that the Qty matches the packing slip:

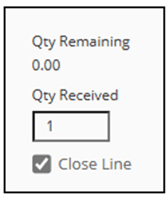
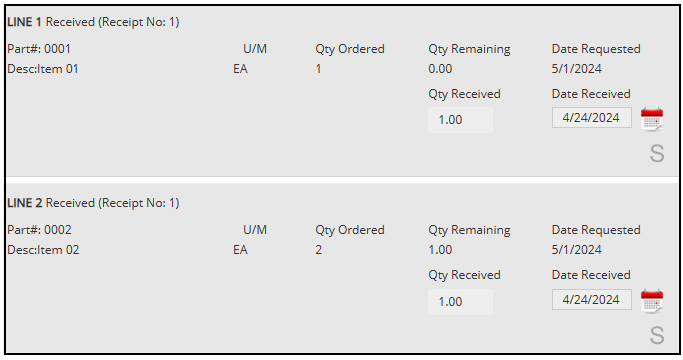
The packing slip indicates a Qty 2 delivered for the item and this Qty is entered in the Qty Received field. The Qty Remaining for the line is 1 indicating that this will be expected in a future delivery/packing slip. The line is left open for the future packing slip/Receipt:

Service lines appear similar but display the "Amount" ($) ordered for both remaining and received.
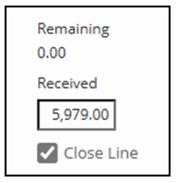

Auto Receive all Remaining



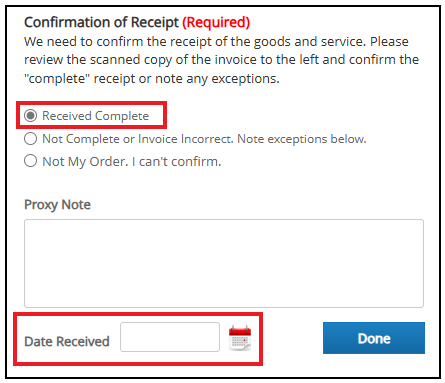




- Incorrect Packing Slip - In the listing of Receipts, Delete the problem Receipt to send it back to Scan Match where it can be correctly matched to the PO.
- Too much qty/amount received - The Admin and AP Management roles have access to Tolerances to address minor variations in the qty/amount received for a given line as compared to the original order line. If the variance is larger than what is permitted by the Tolerances, then the extra qty/amount must be negotiated with the supplier. If the additional qty/amount is to be received, the original purchase order will need to be edited (by the Buyer role) to reflect the new amount.
- Supplier on the packing slip does not match the Purchase Order - It is common that suppliers direct-ship from their manufacturers to their customers (you). In these cases, the packing slip will likely contain your correct Purchase Order Number, but it might not contain the name of the supplier with whom you placed the order. This is considered a "correct" form in Prendio and there is nothing to be changed.
- Part Numbers on the packing slip do not match the Purchase Order - There are a few situations in which this might happen, including several listed above. Confirmation that the items are indeed correct is a judgment based on what information is available in the part number and description.
Order History After A Packing Slip And Receipt Were Processed
After a Packing Slip and Receipt are processed, Order History also displays their creation dates.
Please note that in order to view Receipts in the Order History window, users must have the Accounts Payable role.
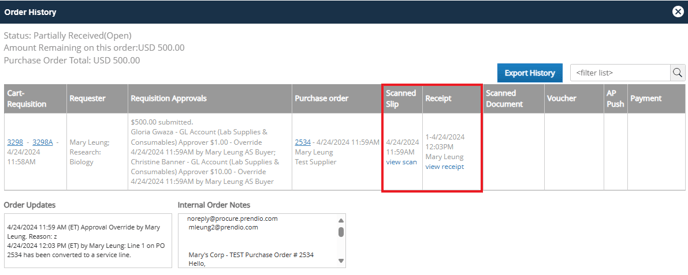
Please note that if additional receipts are expected for the PO, the status of the PO will indicate that it is Partially Received. After all of the parts or services on the PO have been received, the status will update to Fulfilled (Closed).
