Updated on May 2, 2025
Introduction
The Orders tab displays the total number of Open Orders:
The screen is initially blank and users can search for orders using the filters:
![]()
Users can filter orders by Order Type and time Period. After the filters have been added, select Filter to populate order results:

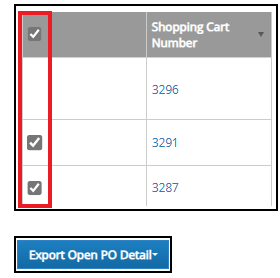
Users can select the top check box to select all orders or check individual order(s) then press Export Open PO Detail to export a CSV file containing the selections:
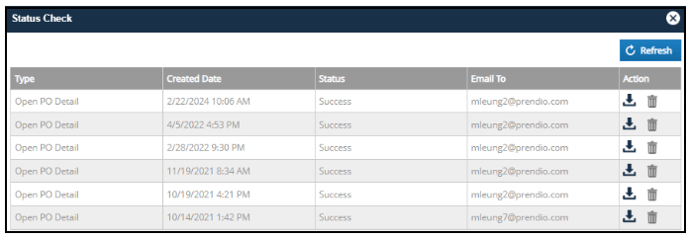
After selecting Export Open PO Detail, a Status Check can be selected to monitor the status of the request, and download the result when complete:
![]()
Columns in the Orders tab include Shopping Cart Number, Cart Name, Project, Requester, Req, Description, Purchase Order, Supplier, Total, Delivery Date, Cart Status, and Actions. Users can click on the Arrowhead icon to sort the columns.
Selecting the Cart Number link will allow users to view the cart and the Req Number link to view Order History in a new window.
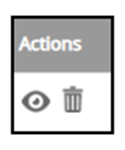
In the Actions column, users can select View (eyeball) icon to view the Purchase Order in a new window.
Force Closing POs
Receivers have the ability to Force Close Purchase Orders via the Orders tab. For more details regarding Force Closing POs, please visit: Closing Purchase Orders

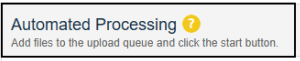
Automated Processing (OCR) – for faster, automatic data extraction. Please note that OCR can only handle single file uploads. Users must separate files before uploading via the Automated Processing queue, or upload these documents into the manual upload section:
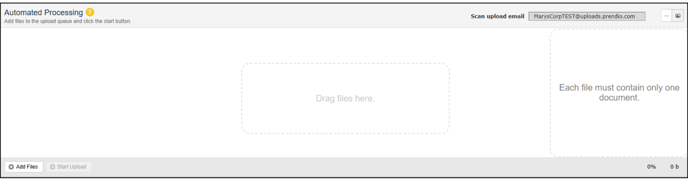
If Automated Processing is the preferred method, documents can be uploaded into Prendio using the company Scan Upload Email, eliminating the need to log into Prendio to upload them. The unique company upload email address will be shown in the top right of the Automated Processing queue:

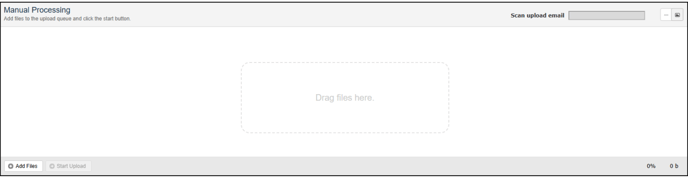
Manual Processing – Users can choose to manually upload documents if document details require review and must be manually entered. Documents including multiple files must be uploaded via Manual Processing:
After determining how the documents will be processed (Autonmated vs Manual), PDF files can be dragged and dropped to the Add Scanned Filed to the Queue:
Or users can select Add Files to manually select PDF documents to upload:
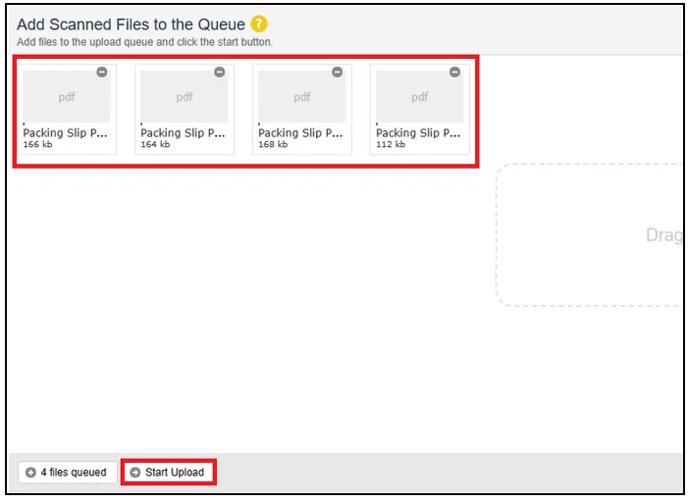
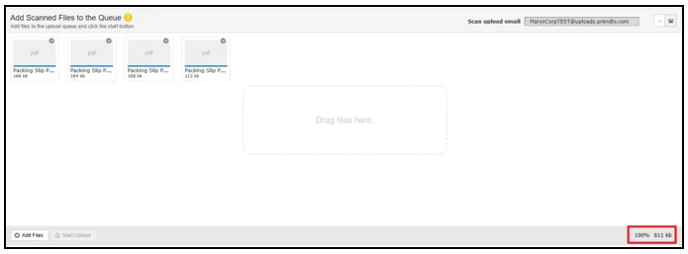
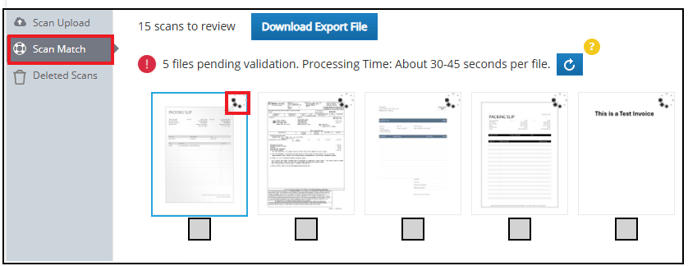
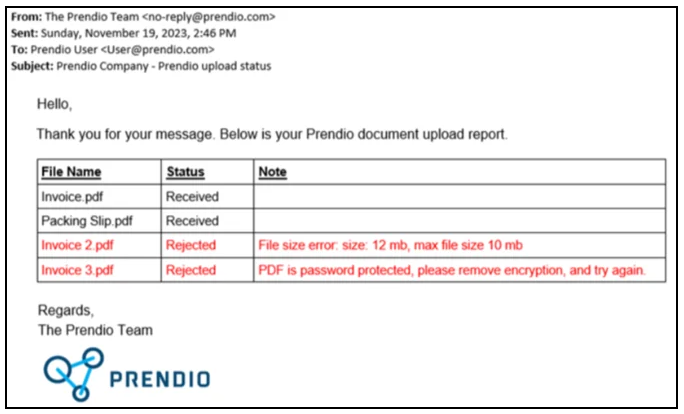
A message will appear indicating the number of files uploaded from Scan Upload. The validation process takes between 30-45 seconds per file, but users can also select the Refresh button to update progress:

OCR matches the packing slip details with the corresponding purchase order. Once matched, packing slips will move to the Receipts tab of the Receiver role for final processing.
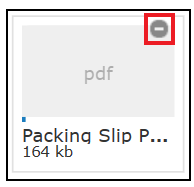
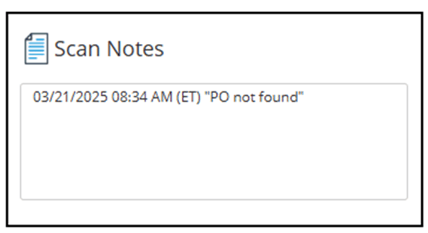
If a packing slip cannot be matched to an existing PO, the packing slip will remain in the Scan Match queue with a note icon located on the top right of the document:

For any documents not matched to a PO, OCR will automatically complete any detected fields and Scan Notes will be added to indicate why a receipt could not be created. Users can also add additional notes for further clarification:
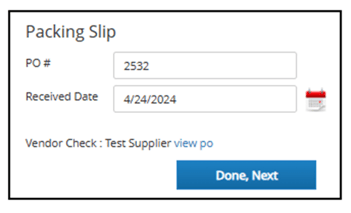
These packing slips require manual review. After review, users can manually add in the packing slip details in the Scan Match. Select Done, Next to move the packing slip to the Receipts tab for final review:
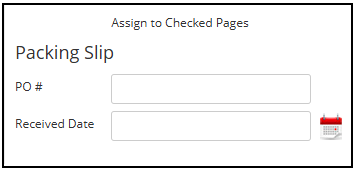
Packing Slips uploaded via Manual Processing will stay in the Scan Match queue for human review. A user with the Receiver or Accounts Payable role must manually select the document and add details to the right:
When complete, select Done, Next to move the packing slip to the Receipts tab for final review.
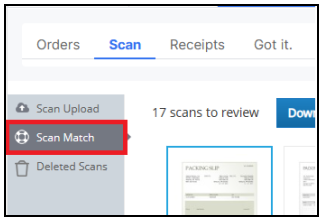
Other Capabilities
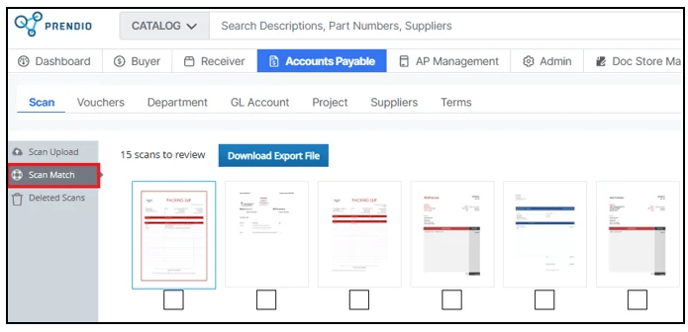
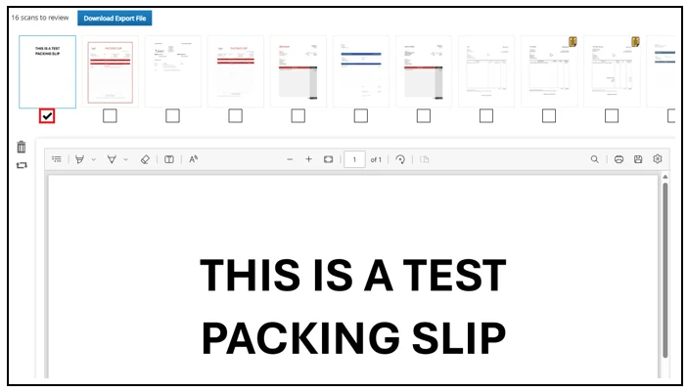
In Scan Match, the number of scans to review appears as thumbnails at the top. If there are many scans to review, arrows will display to advance forward and back:

When a thumbnail is selected, it will display in a larger view:
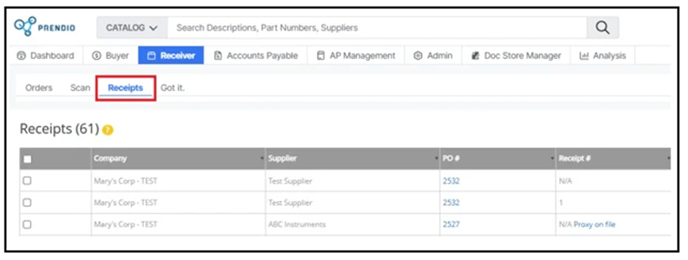
After details of a packing slip are added in the Scan Match, they move to Receipts. Users can process Scanned Packing Slips or Proxy Packing Slips into Receipts:
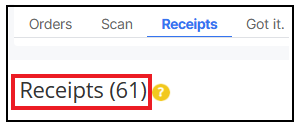
The total Number of Receipts to be processes is listed at the top:
The Filter field can be used to search for data in this window and the Refresh button is used to clear the filter and display all receipts:

The Company, Supplier, PO #, Receipt #, Date Items Recd, Receipt Status, and Notes columns can be sorted using the Arrowhead icons:
Clicking on the link in the PO # column will display the PO in another browser tab:

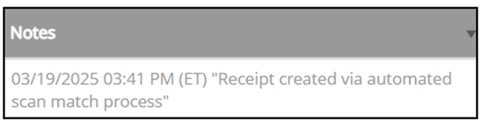
Receipts created through OCR can be identified by an automatic note that includes the date, time (ET), and the message: Receipt created via automated scan match process:
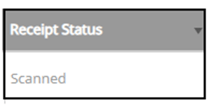
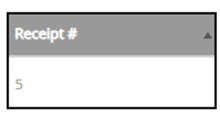
Receipts generated via the automated scan match will automatically be assigned a receipt number. Users can determine whether the receipt has been reviewed and confirmed via the Receipt Status column. Receipts that must be reviewed will have a Scanned status:
A Receipt # will also be assigned:
Packing Slips that have not been automatically created into a receipt via OCR will appear as N/A in the Receipt # column and Scanned as the Receipt Status:

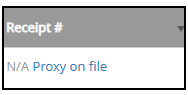
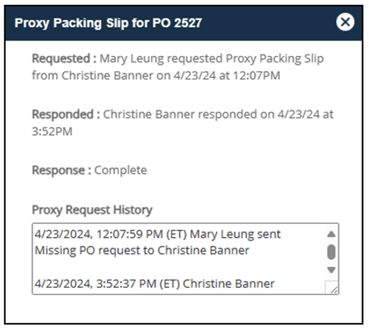
Clicking on the link (Proxy on file) allows the user to view the proxy packing slip history in a new window:

Notes:
If a service provider provides your Company’s Prendio Accounts Payable Services, processing a packing slip or proxy packing slips will be handled by the service provider. These fields will be greyed out, but users will have view only access.
If a Note was entered while matching a Packing Slip in the Scan Match, they will display in the Notes column.
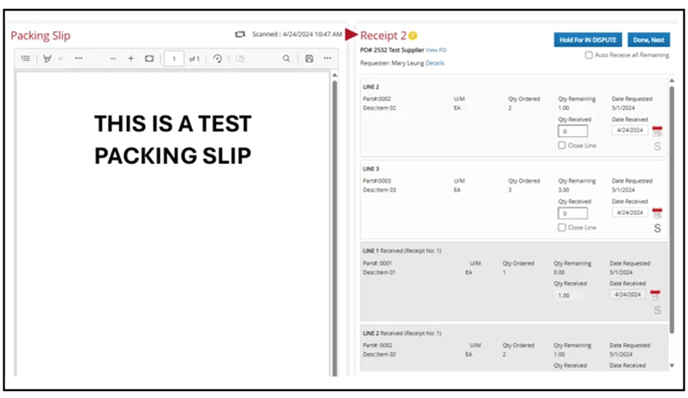
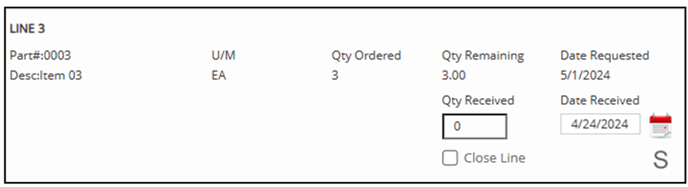
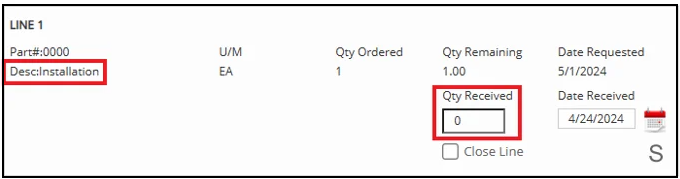
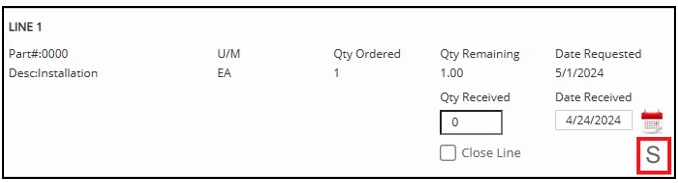
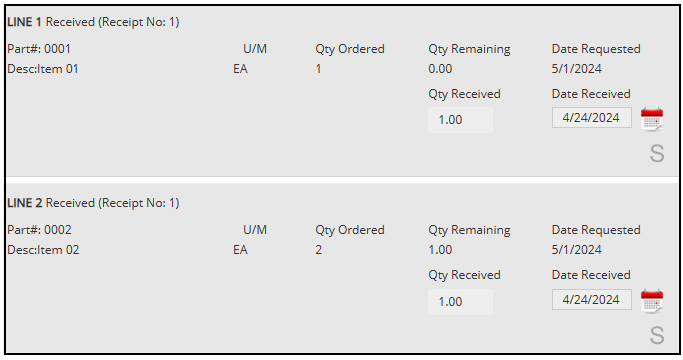
Each line of the original order is represented on the right along with the following. Lines from previous receipts are also listed (in grey) for information purposes only.
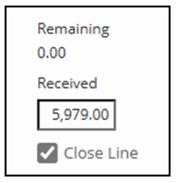
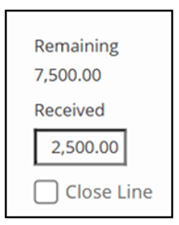
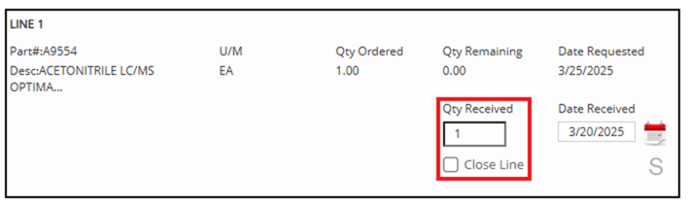
- Qty Ordered (on the original Purchase Order)
- Qty Remaining (after previous receipts are taken into account)
- Qty Received (this receipt)
- Date Received (this receipt) - used to track supplier delivery performance
- Close Line (checkbox) - allows for exceptional situations in which receiving fewer than what is remaining open on the order should be considered the final receipt. No more items will be received. Example - a few less than a large number of custom widgets are manufactured and delivered. According to your agreement, you have allowed for this and no more widgets will be delivered. You want to close the line and consider it complete.
If a receipt was created via automated scan match, packing slip details will automatically add in the Qty Received for each line on the packing slip. Users must verify that the quantities are correct and adjust if needed.
If automated scan match was unable to add in the correct quantities or amounts, users must manually add these details. If adding in the Qty manually, note the part lines listed on the packing slip/proxy packing slip on the left. Add in the Qty Received to the corresponding line on the right. Ensure that the Qty matches the packing slip:
It is possible that lines may not be fully received (Qty Remaining 0 or Remaining 0). Lines that are not fully Received/Closed will have future packing slips/proxy packing slips processed against the PO and will have multiple receipts.


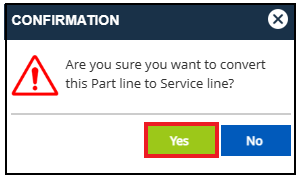
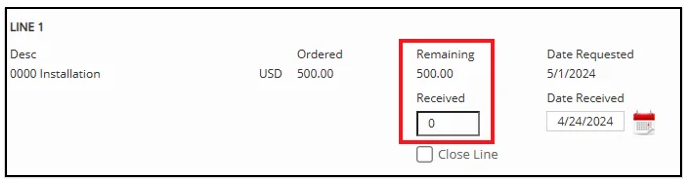
Service lines appear similar but display the "Amount" ($) ordered for both remaining and received.