
Video Demo of Adding a New Accounting Segment and Mapping to an ERP Equivalent
Introduction & Prerequisites
When Prendio is integrated with an ERP system via an Online Connector (QuickBooks Online, QuickBooks Desktop, NetSuite, Sage Intacct, Oracle Fusion, and MS Business Central), users with the Accounts Payable role have the ability to sync (map) accounting segments in Prendio to accounting segments in their ERP system.
Note: This document does not detail the creation of GL Accounts, Projects, and Departments in an ERP system. In this procedure one of each of these segments is created and named in Prendio so that they can be mapped to the same segment in an ERP system.
In the examples below, QuickBooks Online is used as the ERP system. The Sync ERP button will be available in the examples used in this document. The connection with QBO must be available when performing a Sync.
In the Accounts Payable role, locate an accounting segment (Department, GL Account, Project, Class, Location, etc). Select the section for ERP (Department, GL Account, Project, Class, Location, etc):

If the Renew Connection is available but the Synch ERP button is grayed out, the connection with the QBO needs to be renewed. Click on the Renew Connection to renew this connection:
![]()
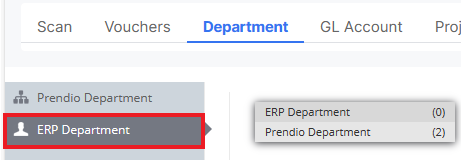
If the Renew Connection is grayed out but the Synch ERP button is available, the connection is still available:
![]()
Syncing a Department (Class)
A Department (Class) named Lunch was created earlier in QBO. A Department with the same name will be added to Prendio so that it can be mapped to this segment in QBO after the Sync.
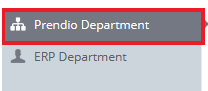
In the Department accounting segment, select Prendio Department on the left:

Select Add Department to create a new Department:
![]()
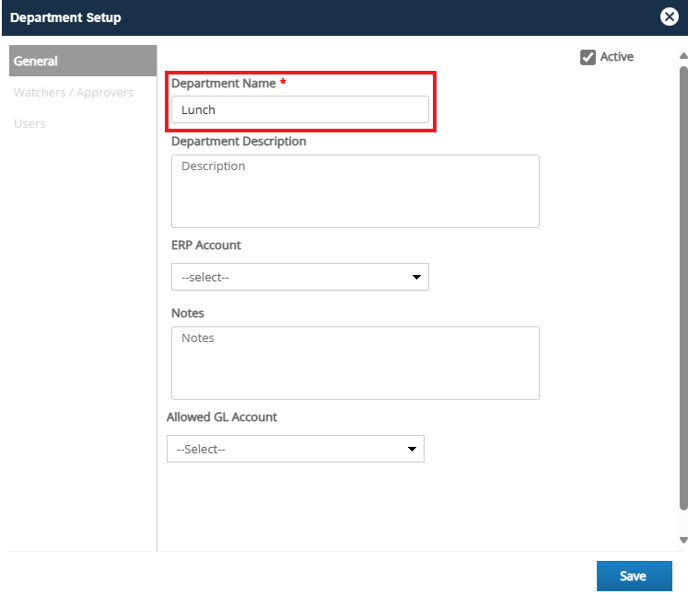
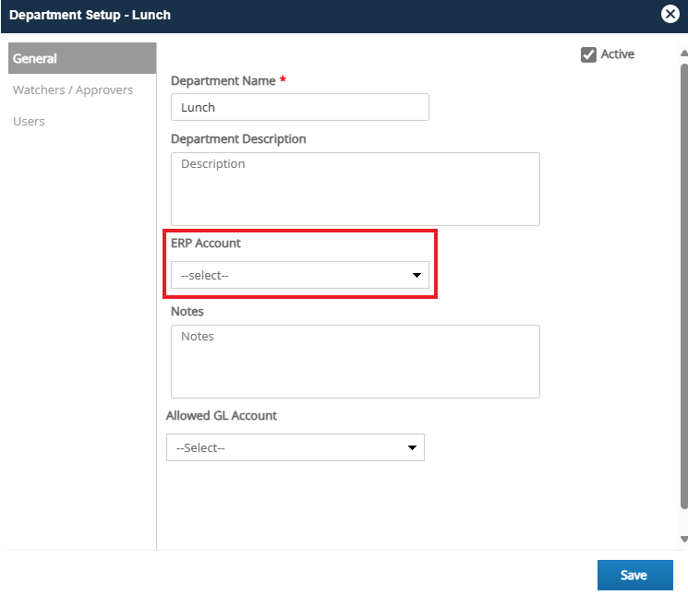
In the Department Setup window, add a name for the segment. Other details for the Department (Description, Allowed GL Account, any Watchers or Approvers) can be completed now or at a later time. Save once complete:
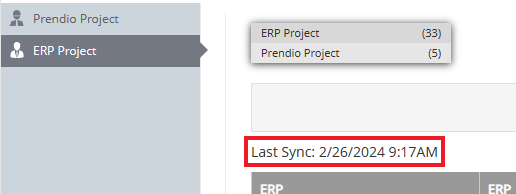
The window notes the date and time of the last sync:

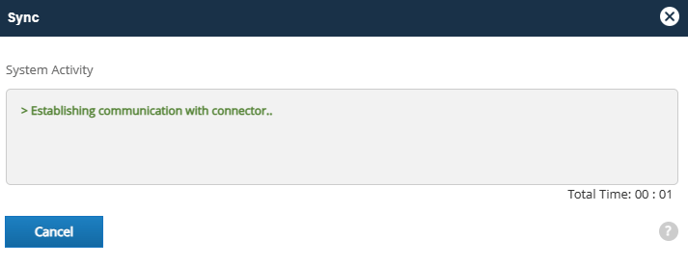
Select Sync ERP to enable Prendio to connect with the ERP system:
![]()
After the sync is complete, the window closes. New Departments added to the ERP system will be listed in the table:

Select again Prendio on the left:


Complete other areas in the setup window as needed (User(s) must be selected for the Department(s) for a department to be available for that user when creating a new cart) and Save once complete:

Syncing a GL Account
A GL Account named Cafeteria was created earlier in QBO. A GL Account with the same name will be added to Prendio so that it can be mapped to this segment in QBO after the Sync.
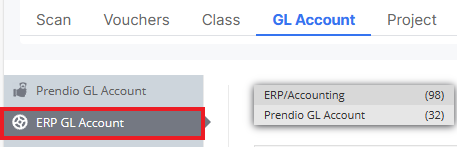
In the GL Account accounting segment, select Prendio GL Account on the left:

Select Add GL Account to create a new GL Account:
![]()
In the GL Account Setup window, add a name for the segment. Other details for the GL Account (Description, Departments, any Watchers or Approvers) can be completed now or at a later time. Save once complete:

The GL Account was named Cafeteria to match the name in the ERP system. It will appear in the table in pink (not yet synced/mapped to an ERP equivalent):
The window notes the date and time of the last sync:

Select Sync ERP to enable Prendio to connect with the ERP system:
![]()
After the sync is complete, the window closes. New GL Accounts added to the ERP system will be listed in the table:

Select again Prendio GL Account on the left:

Locate the Cafeteria GL Account created earlier and Select Edit (pencil) icon in the Action column:
![]()
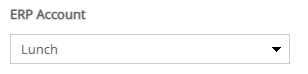
The GL Account Setup window for Cafeteria appears. Locate ERP Account and select the dropdown:

In the ERP GL Account window Search field, Cafeteria is entered to locate the ERP name:

Select the ERP equivalent:
Back on the GL Account Setup window, Cafeteria is now added via ERP Account:

Complete other areas in the setup window as needed (Department(s) must be selected for that Department(s) to be available when selecting this GL Account in a new cart) and Save once complete:
![]()
Syncing a Project
A Project named Catering was created earlier in QBO. A Project with the same name will be added to Prendio so that it can be mapped to this segment in QBO after the Sync. Note: Projects is an optional segment in Prendio.
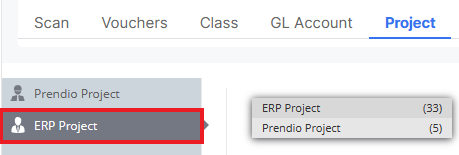
In the Project accounting segment, select Prendio Project on the left:

Select Add Project to create a new Project:
Select Sync ERP to enable Prendio to connect with the ERP system:
![]()
After the sync is complete, the window closes. New Projects added to the ERP system will be listed in the table:

Select again Prendio Project on the left:

Locate the Catering Project created earlier and Select Edit (pencil) icon in the Action column:
![]()
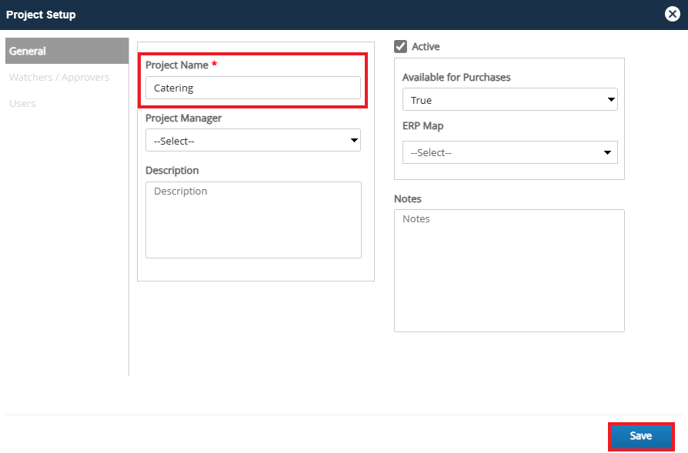
The Project Setup window for Catering appears. Locate ERP Map and select the dropdown:


Select the ERP equivalent:

Back on the Project Setup window, Catering is now added via ERP Map:

Complete other areas in the setup window as needed (User(s) must be selected for the Project(s) for a project to be available for that user when creating a new cart.) and Save once complete:

In the Suppliers tab, select Prendio connected suppliers on the left:

The supplier selected by the Requester to create a PO is Test Company 1. It will appear in the table in pink as it has not yet synced/mapped to an ERP equivalent:
![]()
Select ERP total suppliers on the left:

The window notes the date and time of the last sync:

Select Sync ERP to enable Prendio to connect with the ERP system:
![]()
A Sync window opens to track the progress of the connection:
After the sync is complete, the window closes. New suppliers in the ERP system will be listed in the table:
![]()
Select Prendio connected suppliers again on the left:

Locate the supplier and click on the supplier name:

The Supplier Detail Window for appears. Locate ERP Account and select the dropdown:

In the ERP GL Account window Search field, the supplier name is added to locate the ERP name:

Select the ERP equivalent:

Back on the Supplier Detail Window, the supplier is now added via ERP Account:

Save once complete:
The Prendio Supplier now displays as mapped to the ERP Map. The segment also changes from pink to white:

If the supplier does not exist in the ERP system, Prendio can create a new supplier by completing a Let's Align in the AP Push of the AP Management role. For more details, please visit: Performing a Let's Align with the Prendio Online Connectors
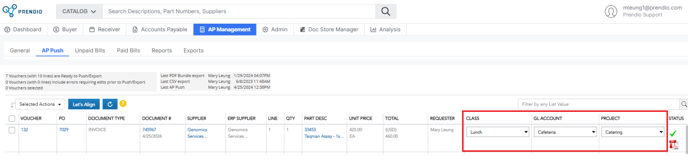
When accounting segments are have not been synced/mapped appropriately, vouchers using these segments in the AP Push will display errors and require a sync before they can be pushed to an ERP system.
In the example below, the orders have vouchers prepared; however, they are using accounting segments that have not been mapped and error messages display:

Users can return back to the Accounts Payable role to sync/map any segments with errors. Another option to sync/map segments with errors is to complete a Let's Align in the AP Push. For details regarding a Let's Align, please visit: Performing a Let's Align with the Prendio Online Connectors
Video Demo of Adding a New Accounting Segment and Mapping to an ERP Equivalent