Adding/Edit users Individually in Admin > Users - New user accounts can be added individually. Adjustments and corrections to existing users can also be updated in this manner. To learn more, please view the details below in this help document.
The Company Admin should know ahead of time the details of the user to be added (i.e. email address, phone number, Prendio Roles to be assigned, Spending Limit, Approval Limit, Approvers, Approval Delegate, Departments and Projects the user needs access to, etc.).
Admin > Users

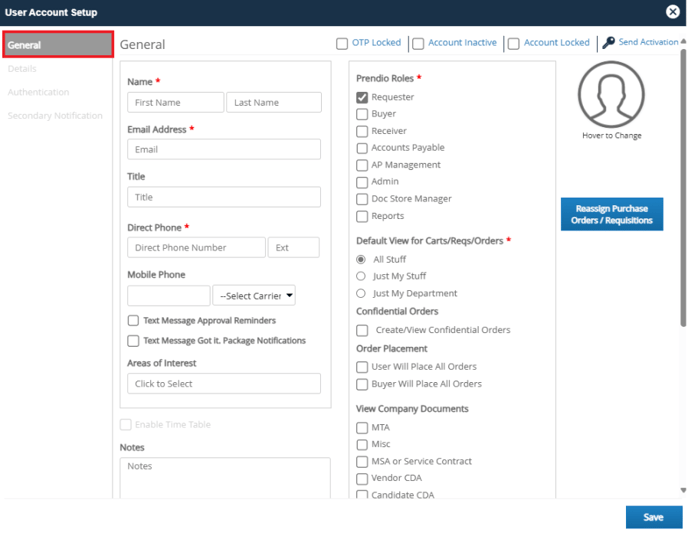
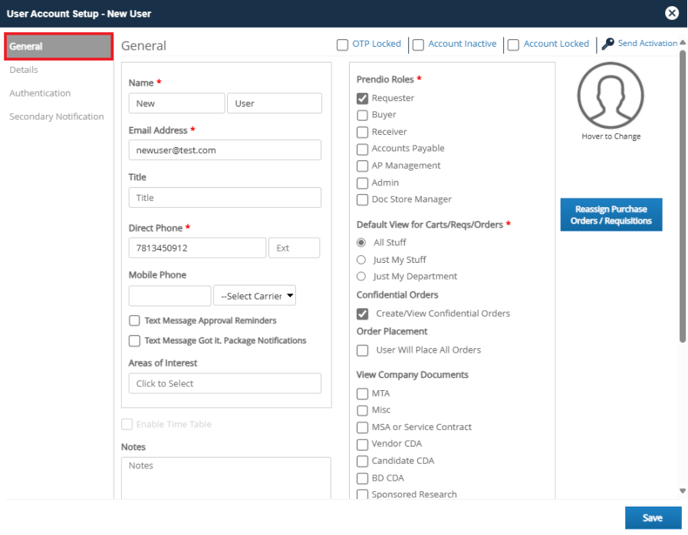
A User Account Setup window will appear. The General Tab will be selected on the left. Please note that the other sections (Details, Authentication, and Secondary Notification) will be disabled until the General Tab is completed and Saved:
Roles
Prendio provides access to functionality by Role. It is by this method that Prendio supports a separation of duties, critical to good practice.
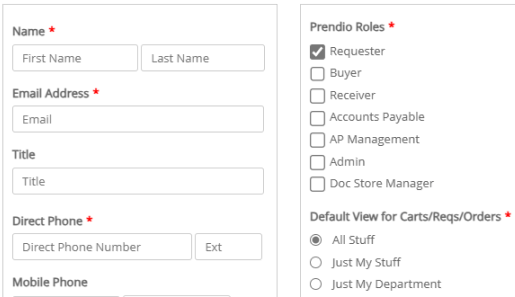
- Requester - This role is required for every user and cannot be disabled. It enables the Dashboard, basic ordering, and approvals processes.
- Buyer - Create new suppliers, negotiate pricing, create, confirm and manage purchase orders. (This role can also be filled by the BioProcure team if their services are utilized by a company).
- Receiver - Scan and upload packing slips, create receipts. This role can also be filled by the BioProcure team if their services are utilized by a company.
- Accounts Payable - Scan and upload invoices, 3-way matching, create vouchers, synchronize accounting segments and Suppliers with ERP. This role can also be filled by the BioProcure team if their services are utilized by a company.
- AP Management - Review and adjust vouchers, push vouchers to your ERP/Accounting system for bill creation, manage ERP Connector settings.
- Admin - Manage users, manage ERP Connector Settings, Time Table management (if enabled), misc company settings.
- Doc Store Manager - Upload and detail documents (if enabled), manage Document types.
- Reports - Allows users to access reporting capabilities without assigning the Buyer or AP Management role(s).
The Default View for Carts/Reqs/Orders is required for the user. Options include:
All Stuff - Allows the user to view all orders created including orders from other Departments/Classes.
Just My Stuff - The user can only view orders they create. The user cannot view orders created by other users.
Just My Department - The user can view orders created by other users in the Departments in which the user is a member of.
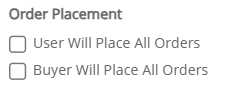
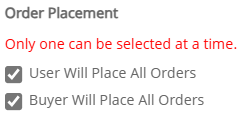
Create/View Confidential Orders must be selected if this user is to have access to view and/or Confidential Orders. Users with the Receiver or Accounts Payable role(s) must have Confidential Order access to view the Scan Match:

For more information regarding Confidential Orders and how this setting relates to Default View for Carts/Reqs/Orders, please visit: Confidential Orders.
A Default Ship To address can be indicated for the user as well as a Default GL Account. These will pre-populate for a user when creating a cart; however, they can update to an alternate ship to address or GL Account as needed:

Save when complete:
![]()
Details Tab - Required Fields, Completing the Personal Approval Path, and Assigning Segments
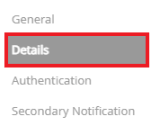
After completing the fields in the General tab and saving, the remaining tabs on the left, Details, Authentication, and Secondary Notification will be accessible. Select the Details Tab:
Admins can add a user's Out of Office Start and End dates in case the user does not indicate this in their account:

The user's Spend Limit, Approval Limit, Approval Delegate, and Next Approver must be selected. A Proxy Delegate or proxy packing slip requests can be added but is not required.
Note: Clicking in the Approval Delegate and Next Approver pulldown menus will display a list of Prendio users to select from.

Spend Limit - Determines a user's spend limit for a requisition. If the requisition exceeds the user's spend limit, it will need to be routed through approvals before it can be processed. If the user is not expected to place orders or all orders need to be routed through approvals, this can be set at $0.
Approval Limit - Determines the user's approval limit for requisitions submitted by other requesters when the user is in the requester's approval path. If the user is not expected to approver requisitions, this field can be set at $0.
Approval Delegate - If the user does not respond to any of the approval requests for a requisition, the user will be skipped and their Delegate will be notified to review and respond to the approval request.
Next Approver - Generally the first approver on the approval path for a user. When Reset Path Default is selected, Prendio builds the approval path based on the Next Approver Setting for each user. See Complete a User's Personal Approval Path below for more details.
Proxy Delegate - This field is optional. When the user is out of the office, their proxy delegate will review any proxy packing slip requests assigned to the user.
Complete a User's Personal Approval Path
Select Add Approver to display a list of Prendio Users to manually select as Approvers to add to the user's Personal Approval Path:
![]()

- or -
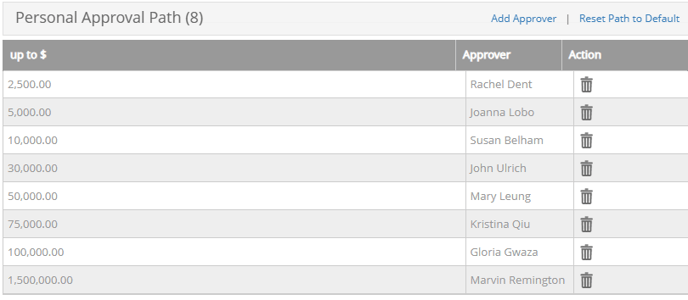
After a Next Approver is added, select Reset Path to Default for Prendio to automatically add the Approvers to the Personal Approval Path. Reset Path Default Builds the approval path based on The Next Approver Setting for each user.
![]()

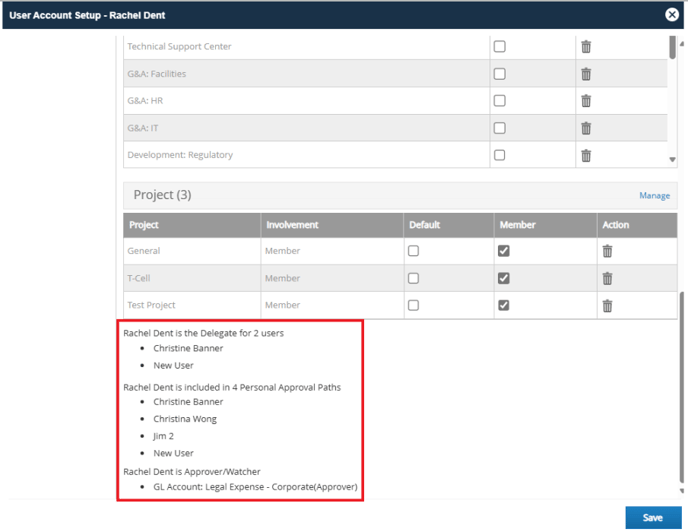
When Reset Path to Default is selected, Rachel (Next Approver) will be the first approver on the user's approval path, followed by Rachel's Next Approver (Joanna), Followed by that user's next approver (Susan) and so on until the top most approver:

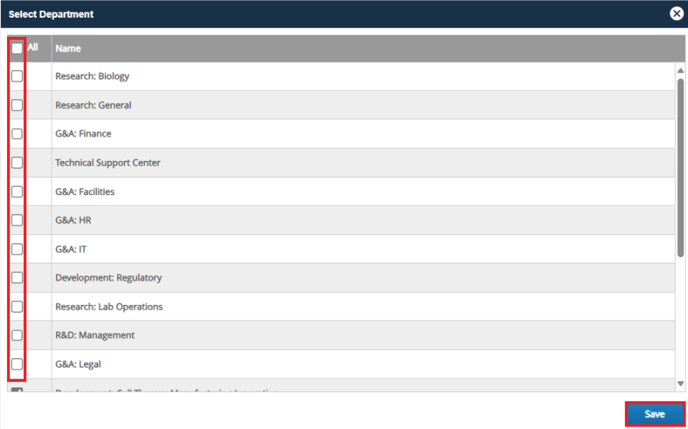
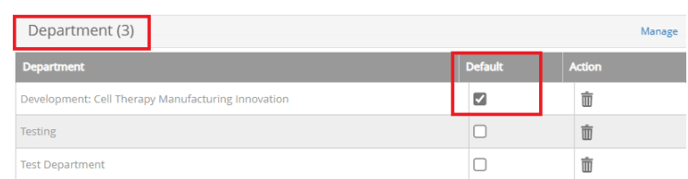
Select the of the Departments the user should be a member of. Save when complete:


Save on the bottom of the Details tab when complete:
![]()
Authentication Tab
The Authentication tab for a new user account allows an Admin to indicate if a user needs to log in via Single Sign-On:

If Single Sign-On is not enabled, the Auth Method will automatically default to Prendio and this tab does not need to be completed. The user will login to Prendio using their email address (as indicated in their account) and password. For more details about Single Sign-On, please visit:
User Authentication Configuration
Secondary Notification Tab
The Secondary Notification tab allows an Admin to indicate the user's Slack username if Prendio is configured with Slack:

If Slack is not enabled, the Slack Username can be left blank. For more details about configuring Prendio with Slack, please visit: Setting up the Slack Integration for Prendio
Sending an Activation Email
Activation Request email sent will appear briefly:
![]()
Save and exit out of the User Account Setup window when complete:
![]()
The table of users will appear. When creating a new user account, the status of the account appears as Draft. After sending an activation to a user, the account will display in a Pending status: